

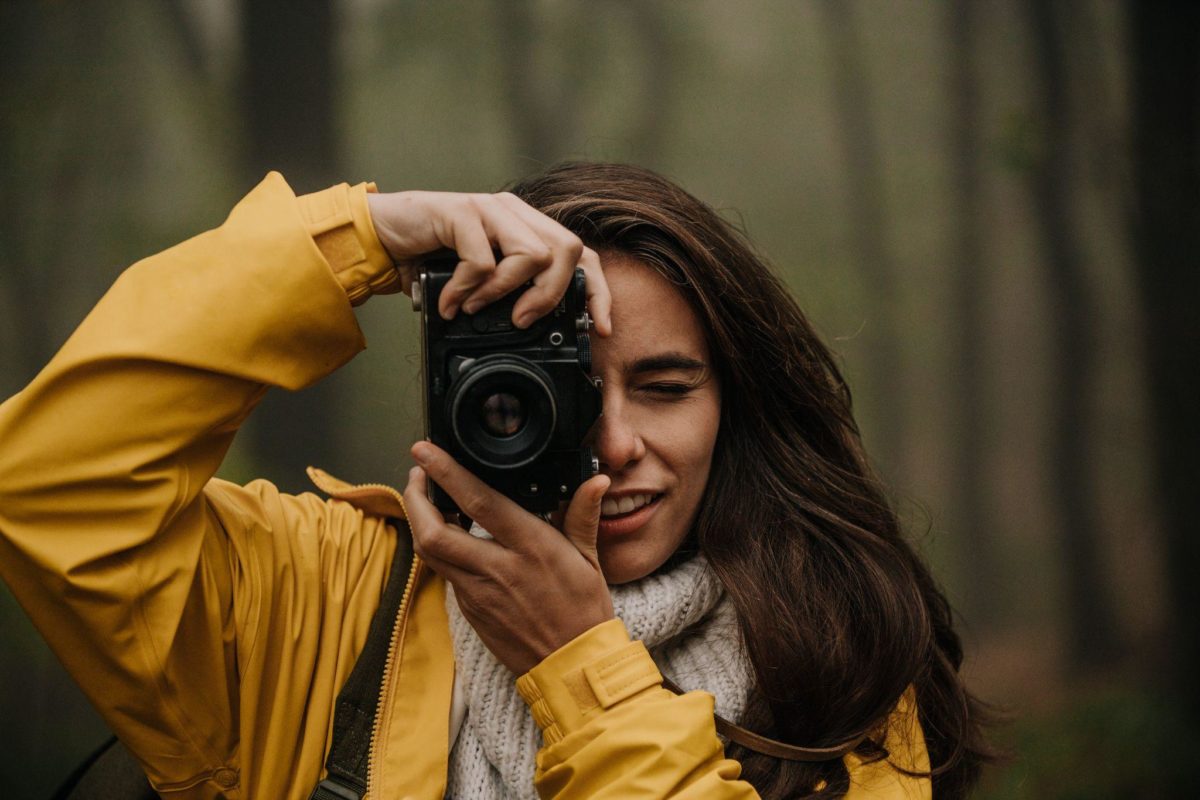
The Nikon D5100 was released in the year 2011 and I have had it for years. It’s lasted far longer than all of my relationships — and has provided a lot more fun.
Continue reading “My Favorite Camera is Nearly 13 Years Old”Category: Photography
Elevate Your Photography with Adobe Express
For photographers of all levels, it can be challenging to find editing tools that are both budget-friendly and easy to use. Whether you want to take your real estate photography to new levels or create a beautiful portfolio of fashion shots, Adobe Express can help.
Continue reading “Elevate Your Photography with Adobe Express”Getting Off of the Endless RAW Upgrade Treadmill
I have written many articles as to why you should always shoot RAW and the reasons still hold true. However, RAW shooting comes at a hidden cost: an endless need to upgrade your editing software as you buy new cameras, which may become a time-consuming burden in some circumstances. In addition, the new software may not run on your old hardware, requiring you to upgrade your computer too, which can get expensive rather quickly.
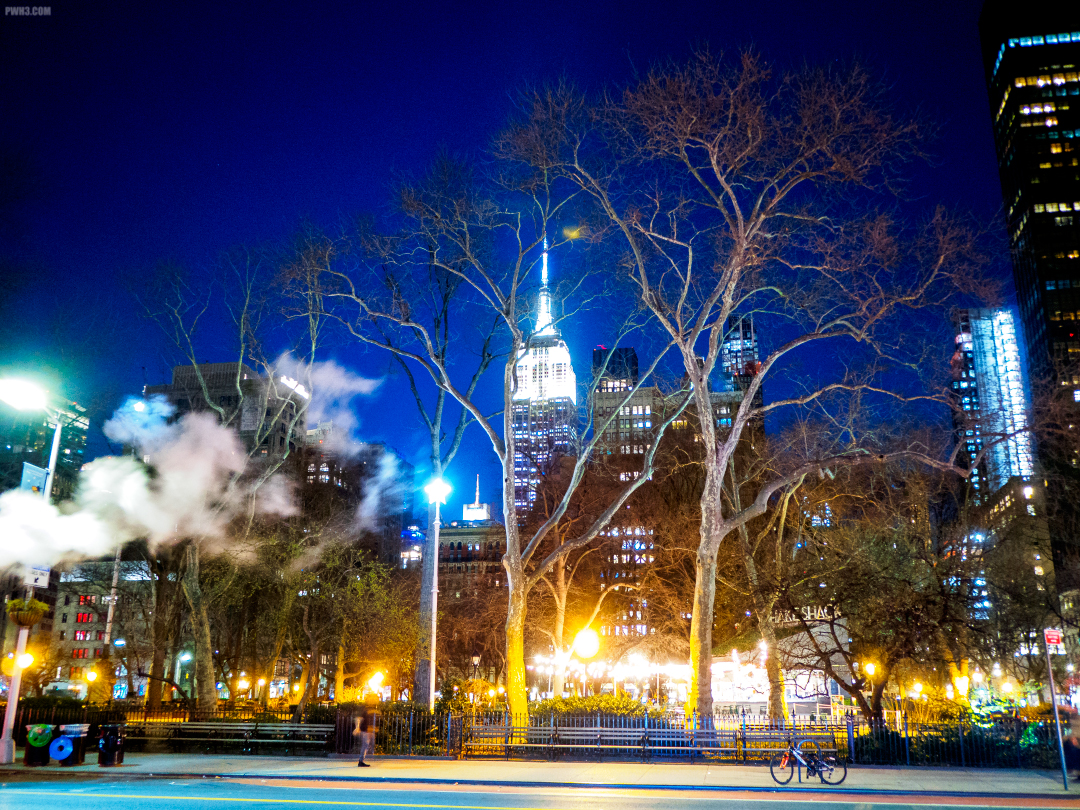
Continue reading “Getting Off of the Endless RAW Upgrade Treadmill”Want to Photograph NYC? Bring Your Wide-Angle Lens
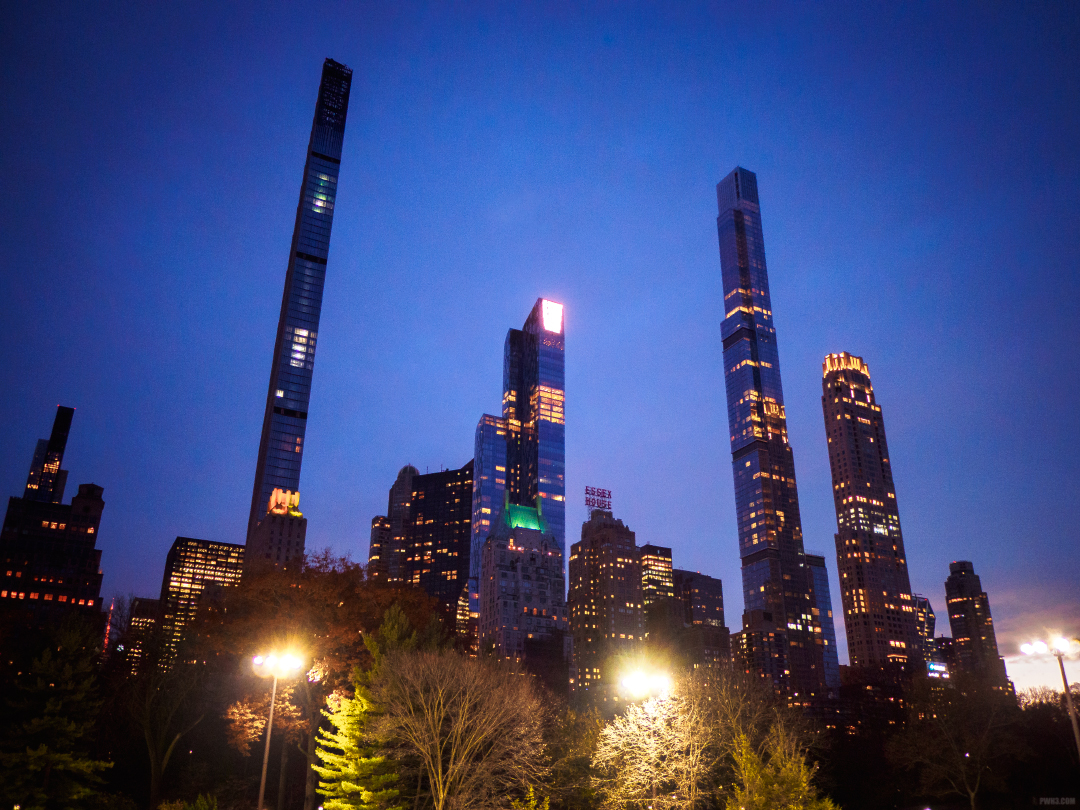
Photographing New York City presents unique challenges. As a photographer, you will have to contend with both cramped spaces indoors (such as inside bars, restaurants and the subway) and incredibly tall buildings outdoors.
The best way to deal with these disparate photographic challenges is to simply use a wide-angle lens all the time.
For our purposes, “wide-angle” means any field of view that is 35mm or wider. The 35mm field of view is great for capturing the city. 24mm is even better. My personal favorite field of view sits in between these two at 28mm.
Continue reading “Want to Photograph NYC? Bring Your Wide-Angle Lens”Always Strive to Deliver High-Quality Images
Your goal as a photographer should be to show your clients, your audience and your fans images of the highest possible quality. I’m not saying you always have to “wow” people with dramatic shots of exotic locations. What I mean is that you should produce images of high technical quality. Here are some guidelines for evaluating your own images to see if they meet the standards of high-quality photography.
Continue reading “Always Strive to Deliver High-Quality Images”Quick Tip For Photographing Stunning Sunset or Sunrise Skies
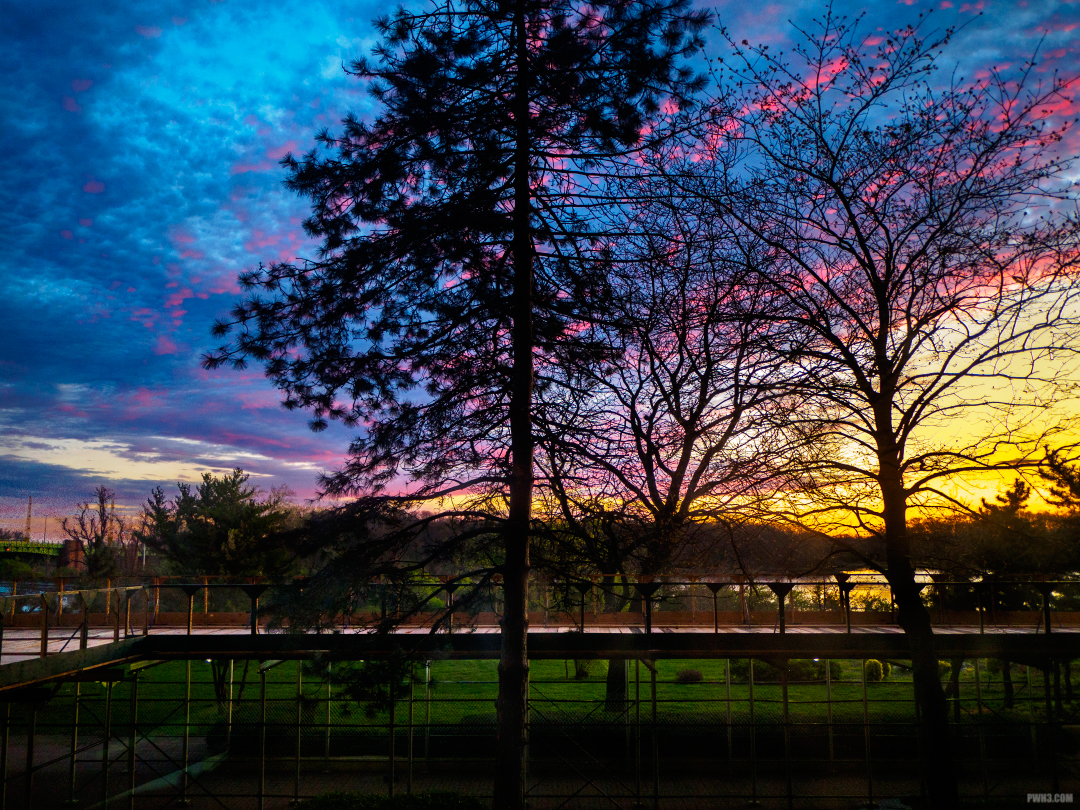
Many beginner photographers struggle with the issue of capturing detail in the sky. Whether it’s a sunrise, a sunset, or just an interesting cloud pattern that you want to capture, many times you will point your camera at the heavens and just end up with a bland, white sky.
The reason this is happening is because your camera is exposing the shot for the whole scene and not just the sky. Your camera wants to give you an evenly exposed photograph where everything is balanced. Usually this means that the camera will try to overexpose your shot to capture detail in the darker parts of your photo such as any ground, trees or buildings that may be included in the frame. Because of this, the sky in your shot will often be overexposed or “blown out”.
To fix this problem, what you need to do is force your camera to expose for the sky and only the sky. You can do that with exposure compensation.
Continue reading “Quick Tip For Photographing Stunning Sunset or Sunrise Skies”Why I Still Like Micro Four Thirds
A few years ago, when the Micro Four Thirds system was introduced, it was rather revolutionary: it offered small mirrorless cameras paired with equally small high-quality lenses, giving photographers image quality that came pretty close to consumer-level DSLRs in an easier-to-carry package.
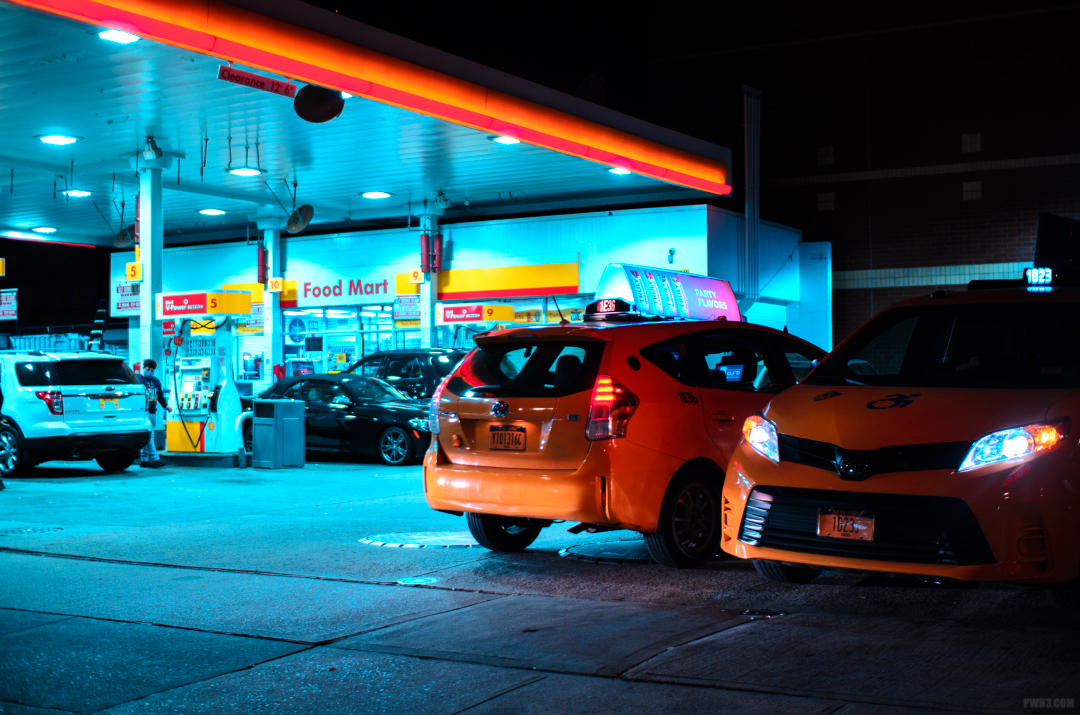
Continue reading “Why I Still Like Micro Four Thirds”Basic Tips for Night Photography

Photographing at night isn’t easy. For a lot of photographers just starting out with night photography, it can be a frustrating experience filled with photos that come out either too dark due to underexposure or very blurry due to camera shake.
But as you can see, most of my photos are taken at night and I feel I consistently get pretty good results. Here are some of my tips for shooting at night.
Continue reading “Basic Tips for Night Photography”Beginner Question – What is “Bokeh”?

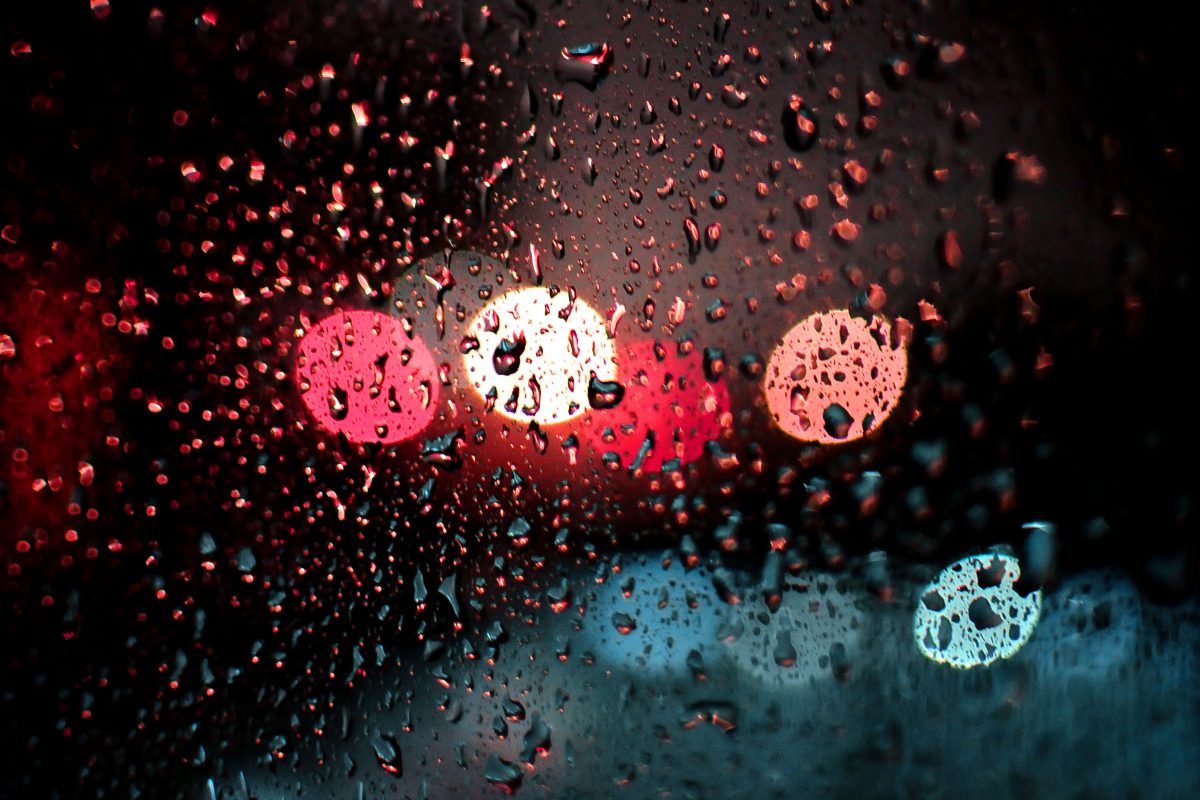
Let’s cut to the chase – you wanted a “real camera” (which for most people means a DSLR) because you wanted to take photos with a blurry background. You were tired of your cell phone images where everything was flat and in focus, and you wanted to produce gorgeous images where your subject was sharp but the background was blurred.
You might have heard the term “bokeh” used alongside images with a blurred background. On Instagram, photos with a blurred background often have tags such as #bokeh or #bokehlicious on them.
But what exactly does “bokeh” mean?
Continue reading “Beginner Question – What is “Bokeh”?”RAW Photo Editing For Total Beginners
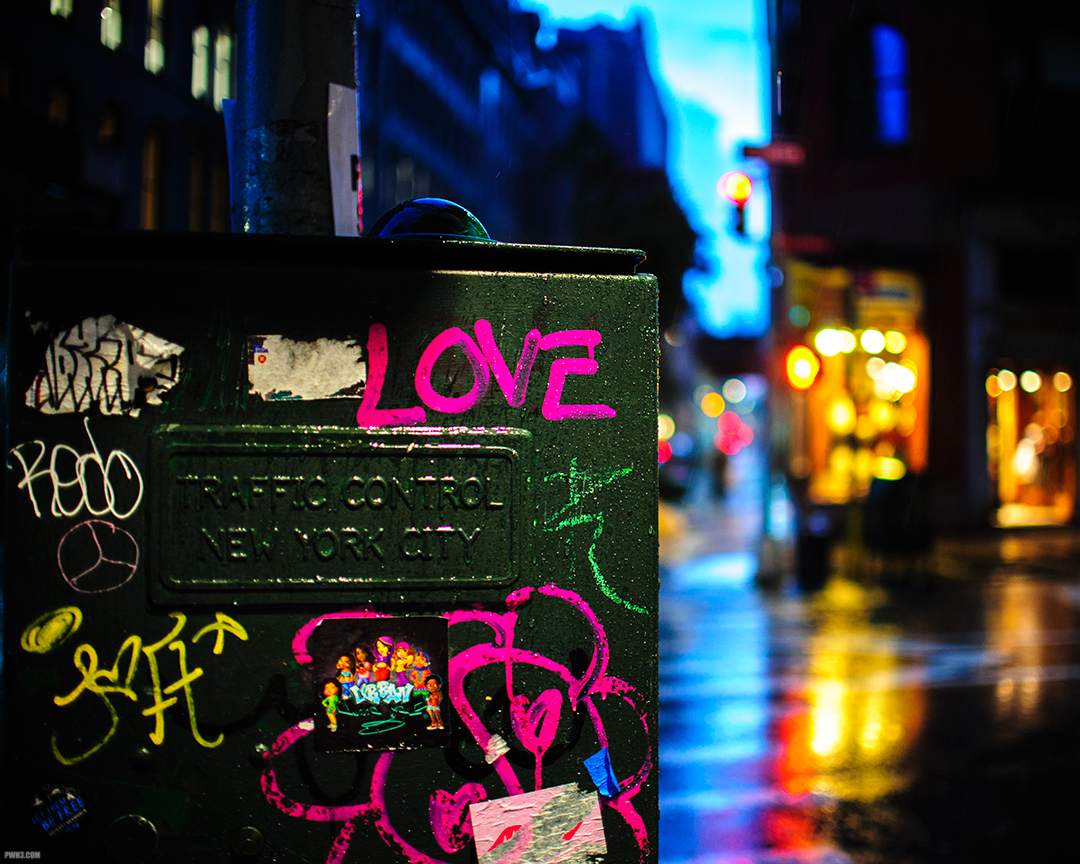
Many new photographers find the idea of shooting in RAW to be intimidating because RAW files must be edited. Without editing, RAW photos usually look flat and dull since no post-processing has been applied to them by the camera. This is quite different from JPEGs, which always have color correction applied to them.
This guide is aimed at beginners. Follow these tips and you’ll be able to get great results from your RAW files in just a few minutes.
I always recommend shooting in RAW. The RAW files contain much more information than JPEGs, and give you more leeway when editing. You can brighten an image or correct the colors much more easily in RAW, without degrading the quality.
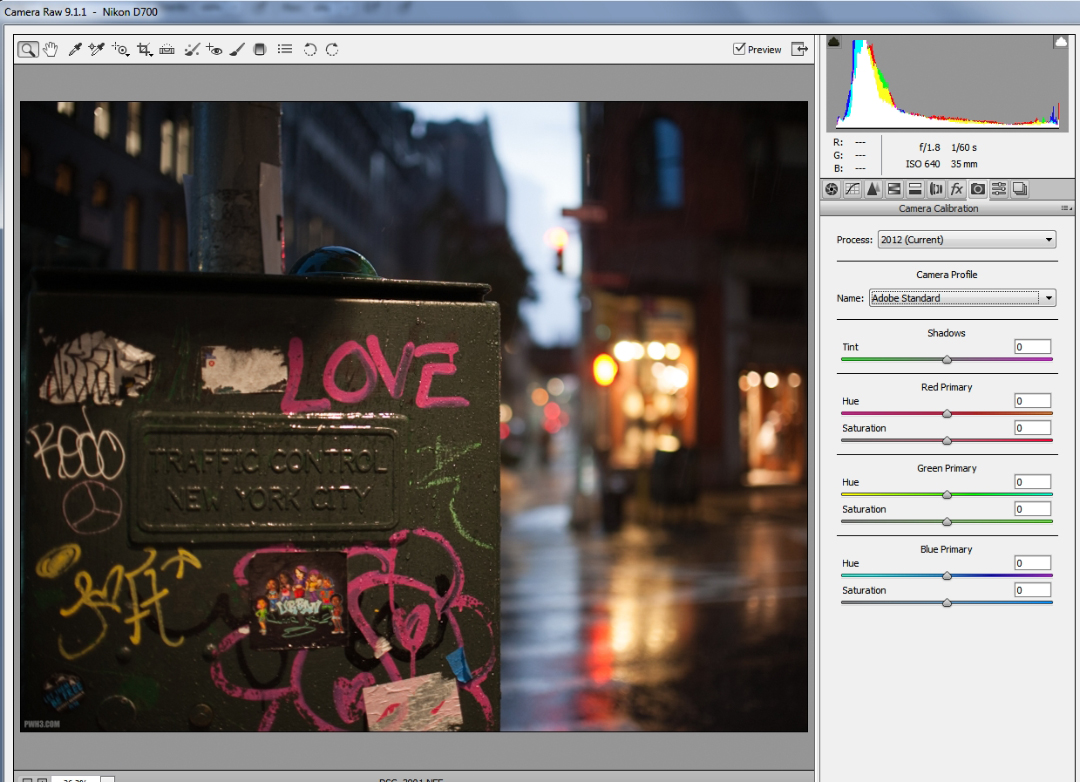
My simple technique here works with any RAW file from any camera. It doesn’t matter if you’re shooting RAW with a Micro Four Thirds camera, an APS-C camera or a full-frame camera. These are the basic steps I use to process all my RAW images, regardless of the camera.
In this example I am using Adobe Camera RAW inside Photoshop, but this will also work with Adobe Lightroom since the menus are basically the same. Any version of Photoshop or Lightroom will do.
Continue reading “RAW Photo Editing For Total Beginners”