Using the Nikon 35mm f1.8G DX lens on a Full-Frame FX Camera

The answer is yes. You can use Nikon’s 35mm DX lens on an FX camera in FX mode. For some reason, the lens was designed to *almost* cover a full-frame sensor, despite being designed and marketed only for DX bodies. There are some problems with it, but if you recently upgraded to a full-frame Nikon and already have this lens, it’s worth giving it a try.

The first thing you need to do is find the “Image area” submenu on your camera and turn OFF the “Auto DX crop” option. Also make sure “Choose image area” is set to FX, which it probably already is unless you’ve been screwing around.
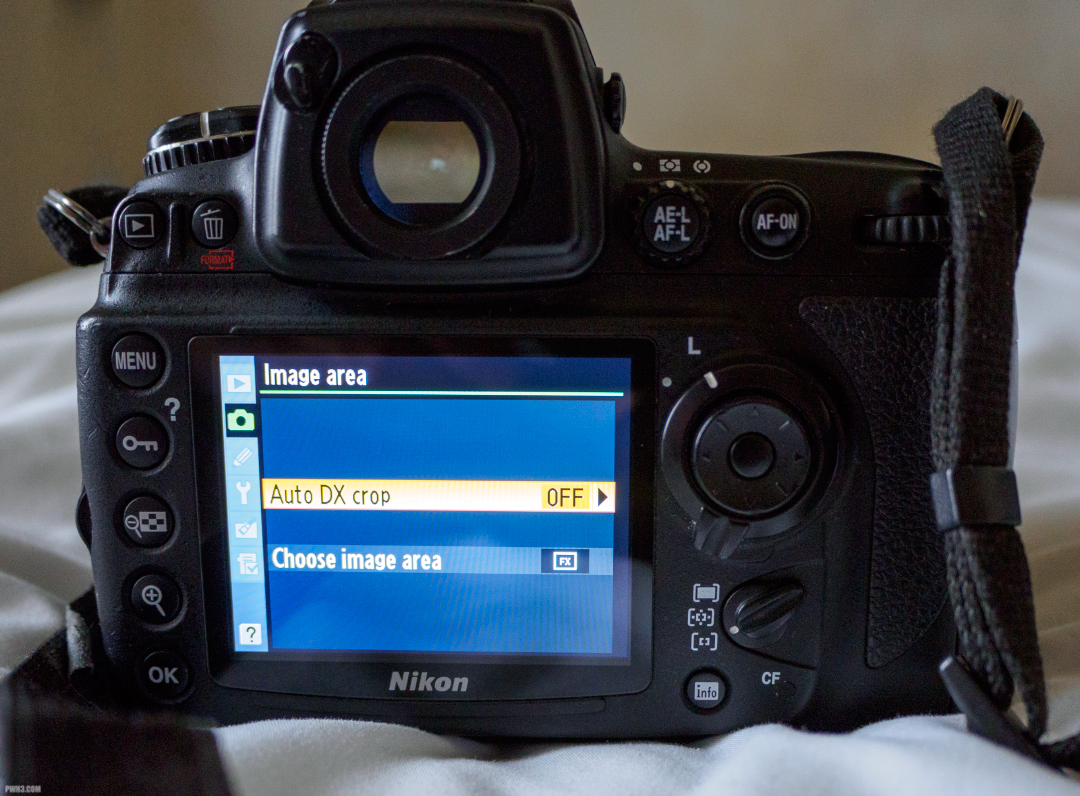
Turn off Auto DX crop! This is the most important menu option change you will ever make in your entire life.

Once that’s all set, the camera will no longer go into DX mode and you’ll be able to use the full 35mm glory of this tiny lens on your full-frame system. You will now get a nice and useful 35mm field of view with only some minor vignetting at wider apertures (generally speaking, under f4).

If you stop down too far (past f4) the edges will change from gentle vignetting to totally black, as if you’re looking through the keyhole of a door. That’s the caveat with using this lens on an FX camera. But you bought a full-frame system to use the lenses wide open for that ridiculous background blur, so who cares about f4 and above, right?
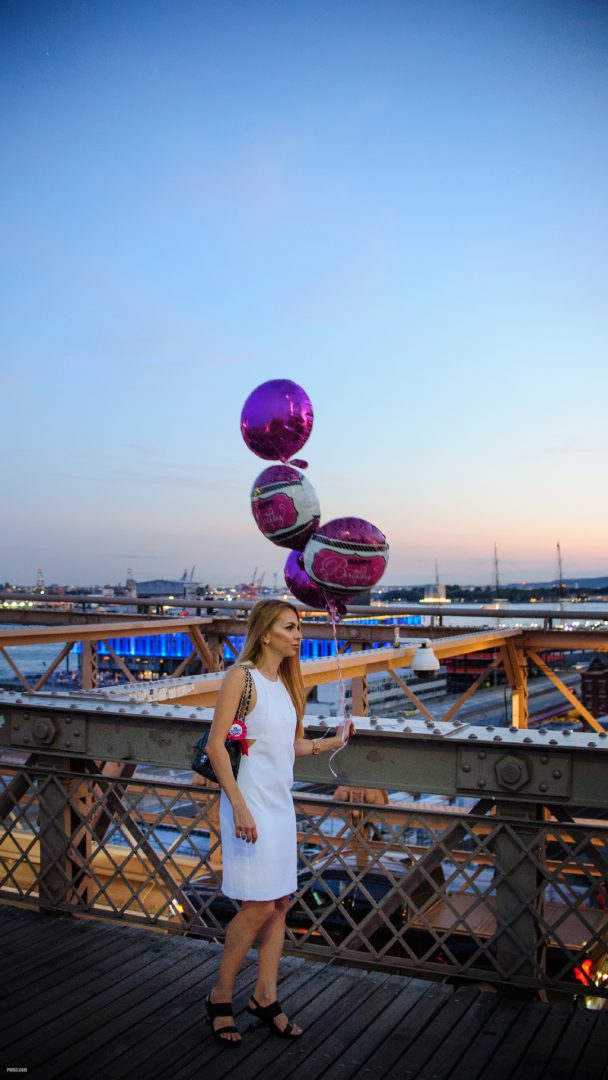
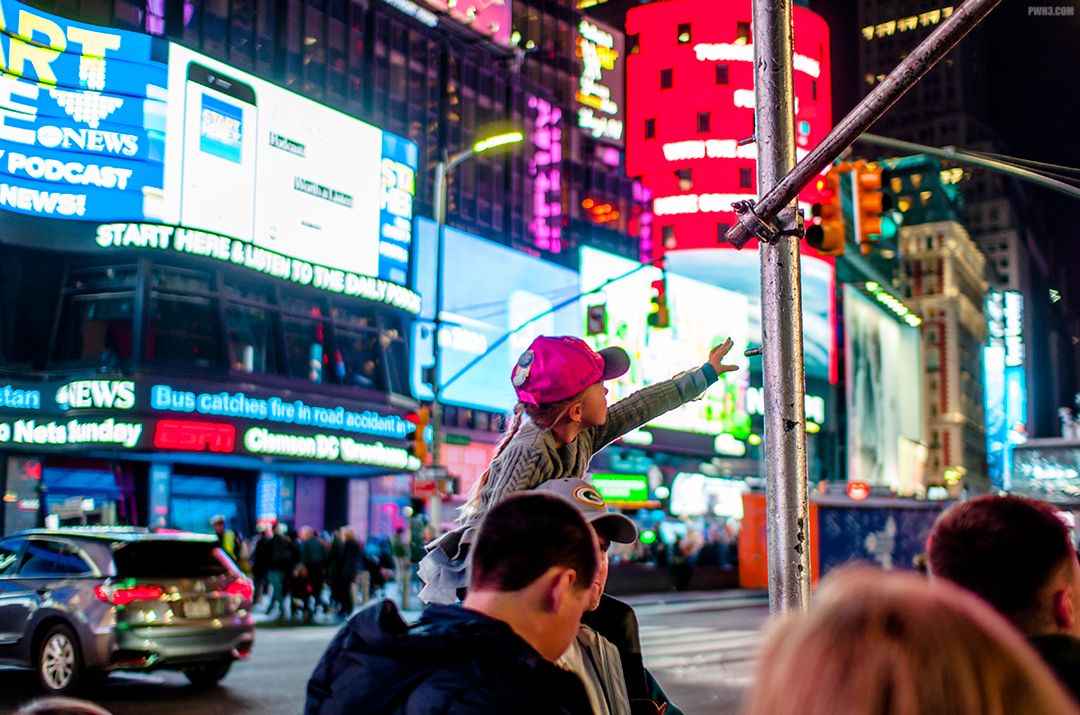
Nikon D700 with 35mm f1.8G DX lens at f3.2. This image is uncorrected so you can see the vignetting in the corners.

As you can see in the sample photo above, the vignetting is definitely there but it’s not too bad under most shooting conditions. Vignetting may be become more distracting in bright sunlight, but you can always crop it out or correct for it in Photoshop or Lightroom under the Lens Corrections menu. If you shoot a lot at night or in dark bars like I do, then the vignetting won’t even matter.
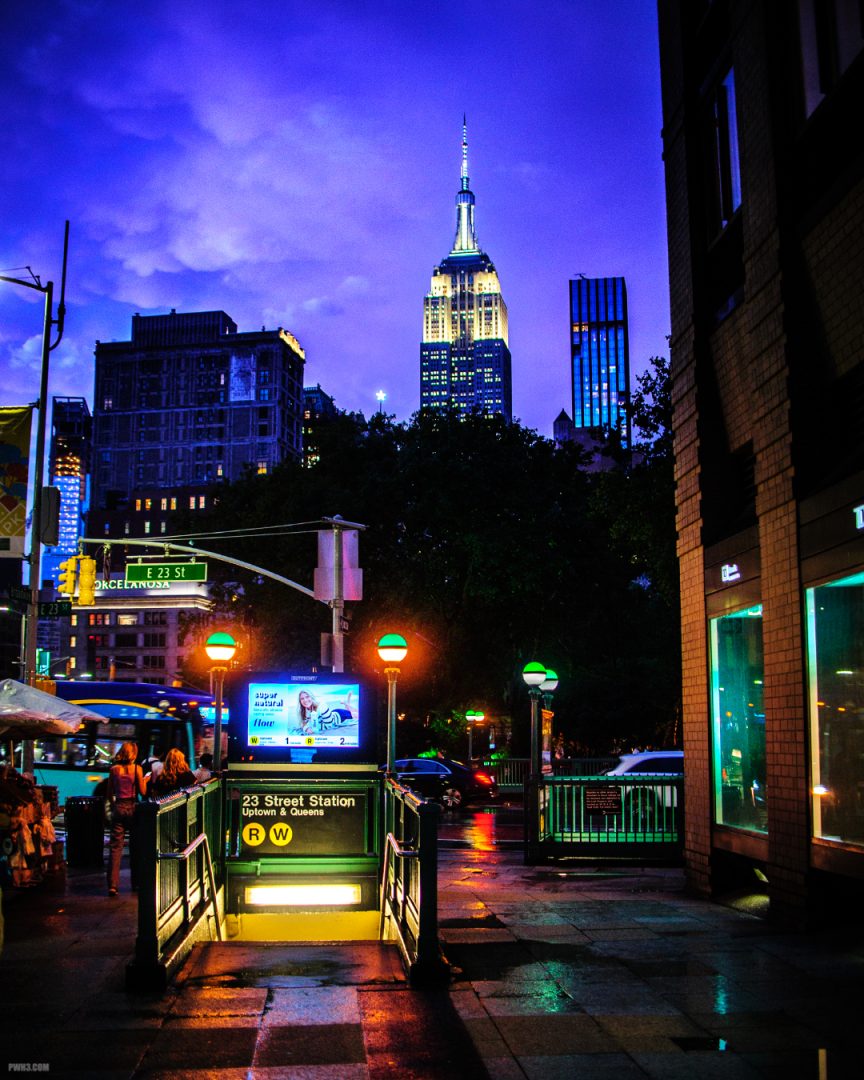
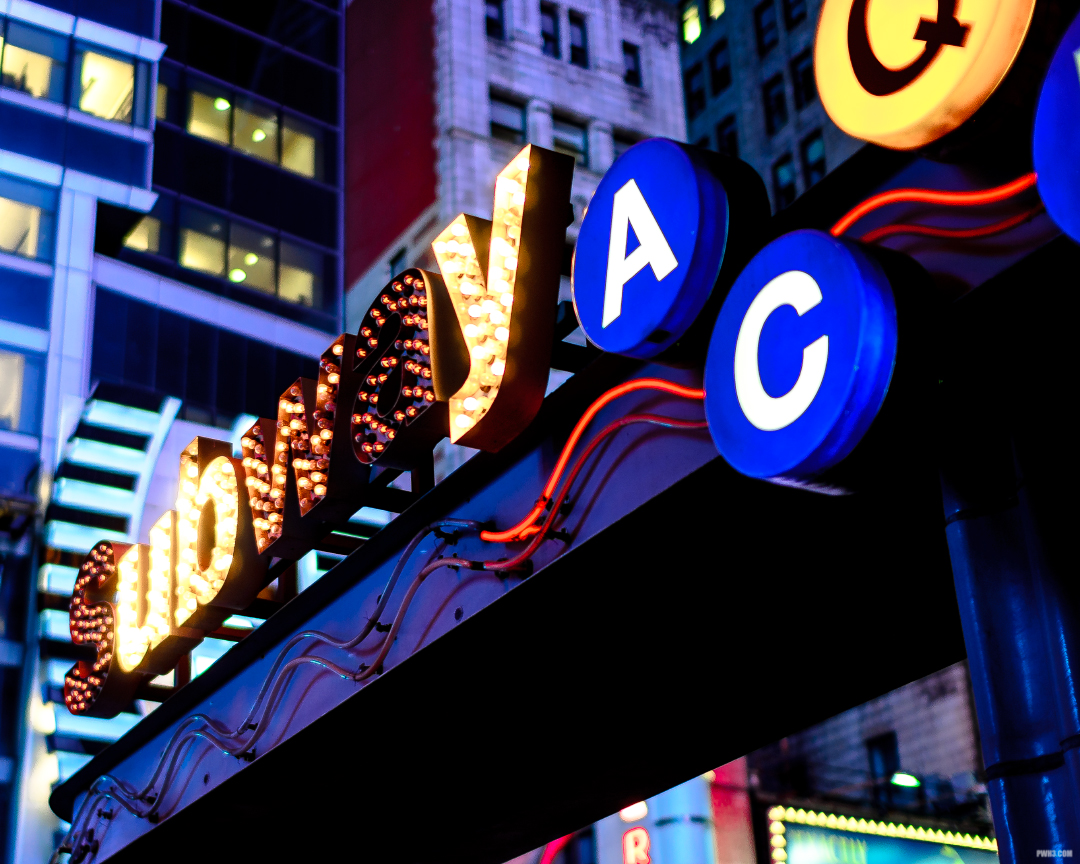
Vignetting? Nobody cares! Nikon D700 with 35mm f1.8G DX at f1.8.

The lens performs well on full-frame cameras, with rich and vivid colors. Sometimes the colors are too vivid, to the point of being almost cartoonish. But you can always color correct in your editing software.
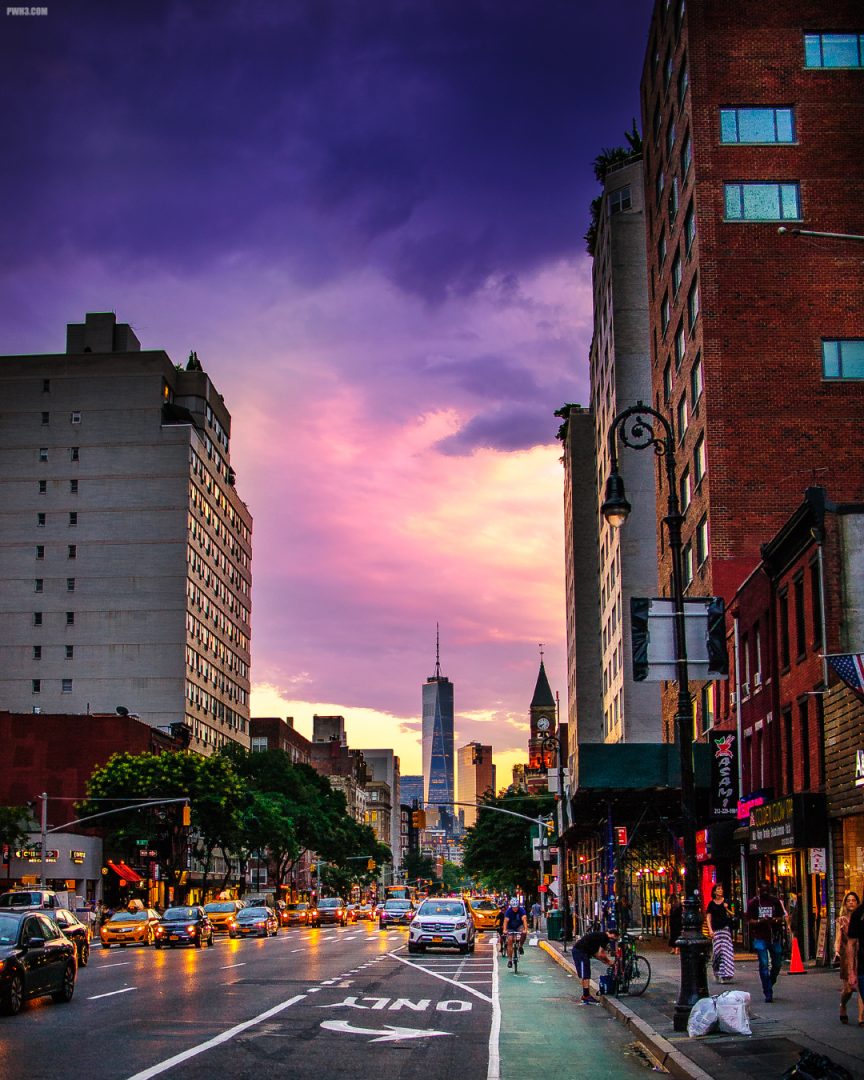
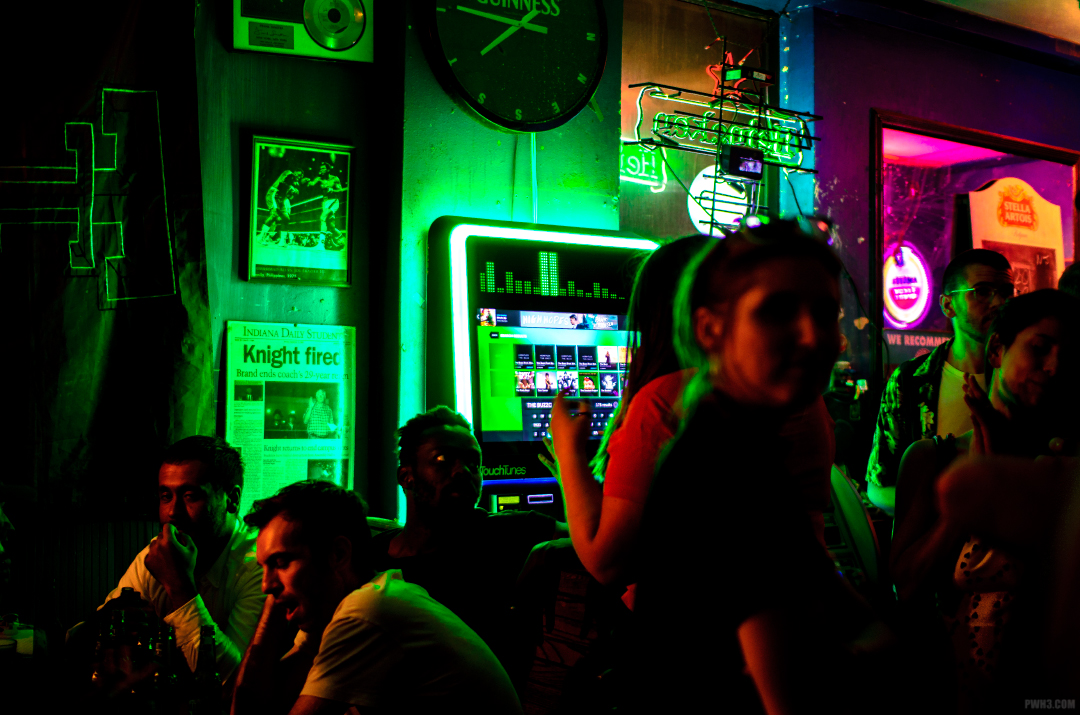
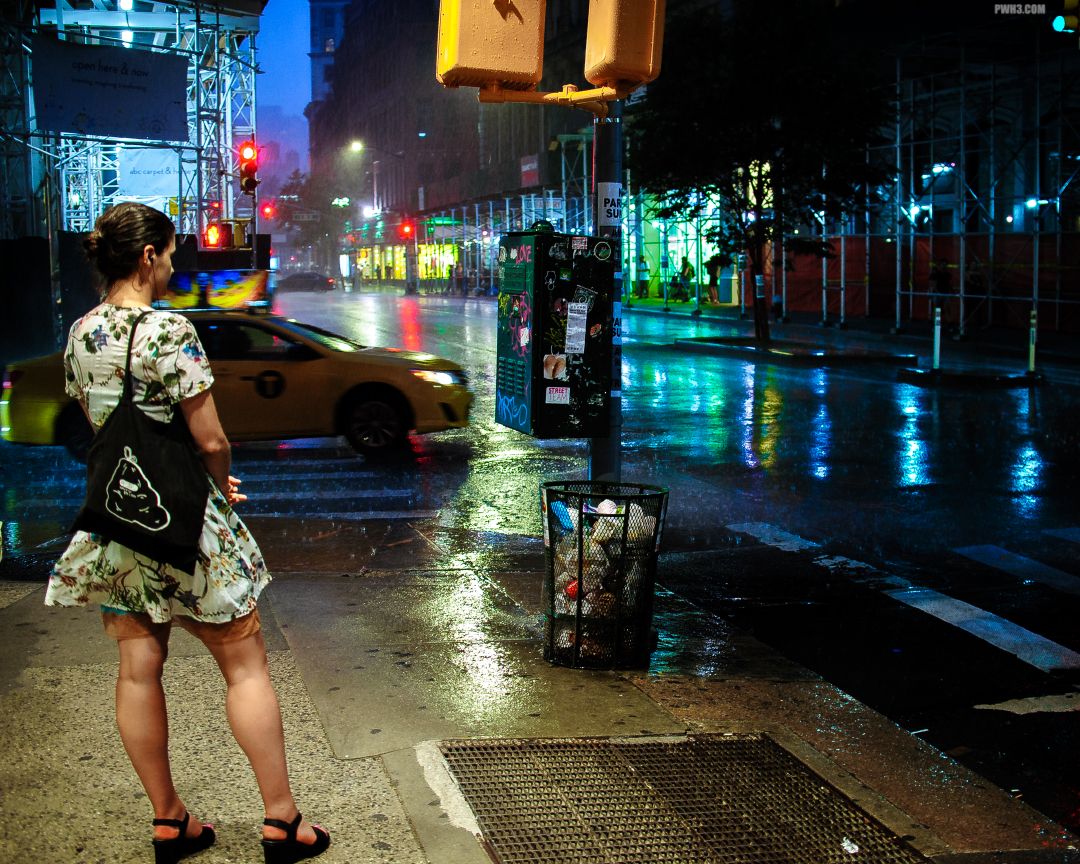
Beware — this lens causes storms and rain when attached to an FX camera! Nikon D700 with 35mm f1.8G DX at f2.5.

Autofocus is quick and accurate, but that’s to be expected since FX autofocus systems are generally the best anyway. It’s also nice to use this lens with a huge, bright FX viewfinder rather than the tiny DX viewfinders.

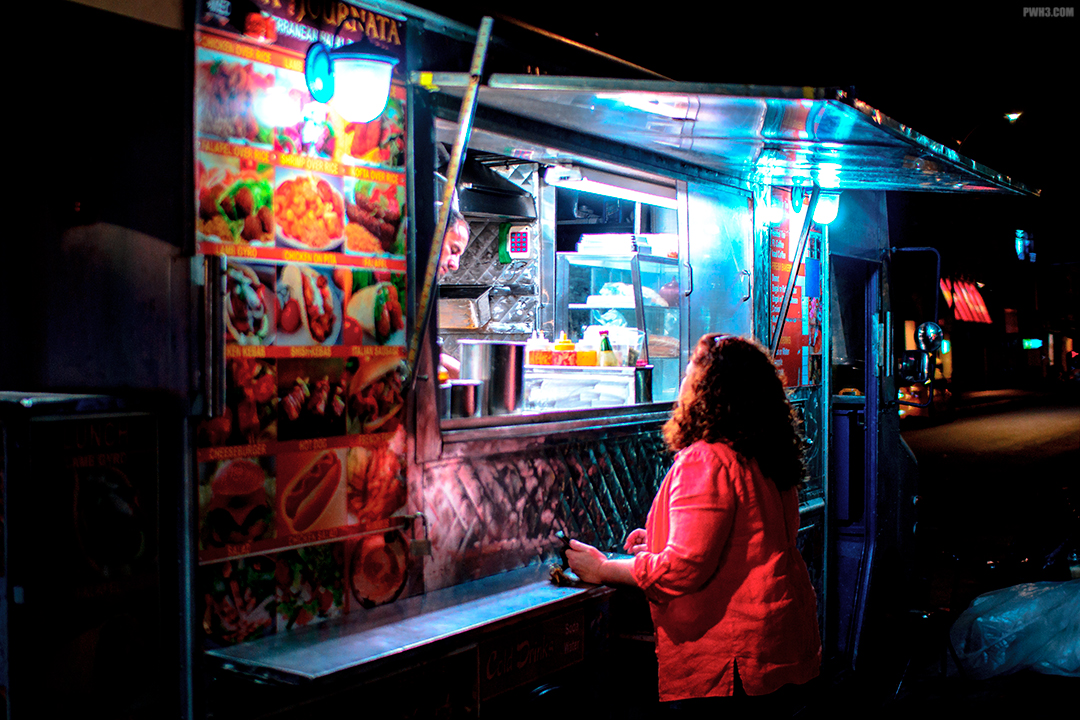
Look at how much crap you can fit into the frame now! 35mm all day, baby! Nikon D700 with 35mm f1.8G DX at f1.8.

Give this lens a try on your full-frame camera and let me know what you think below in the comments! And follow me on Instagram for my latest photos of New York City.

If I Could Start Over…

I have owned many cameras over the years: manual film cameras, point and shoot cameras, Micro Four Thirds cameras, APS-C cameras and professional full-frame cameras.

I’ve also bought lots of different lenses for all of these different cameras and camera formats, from cheap zooms to expensive primes.

But if I could start over, knowing what I know now and having experience with all of this gear, would I make the same choices? Would I buy and own the same stuff?

The answer is no way.

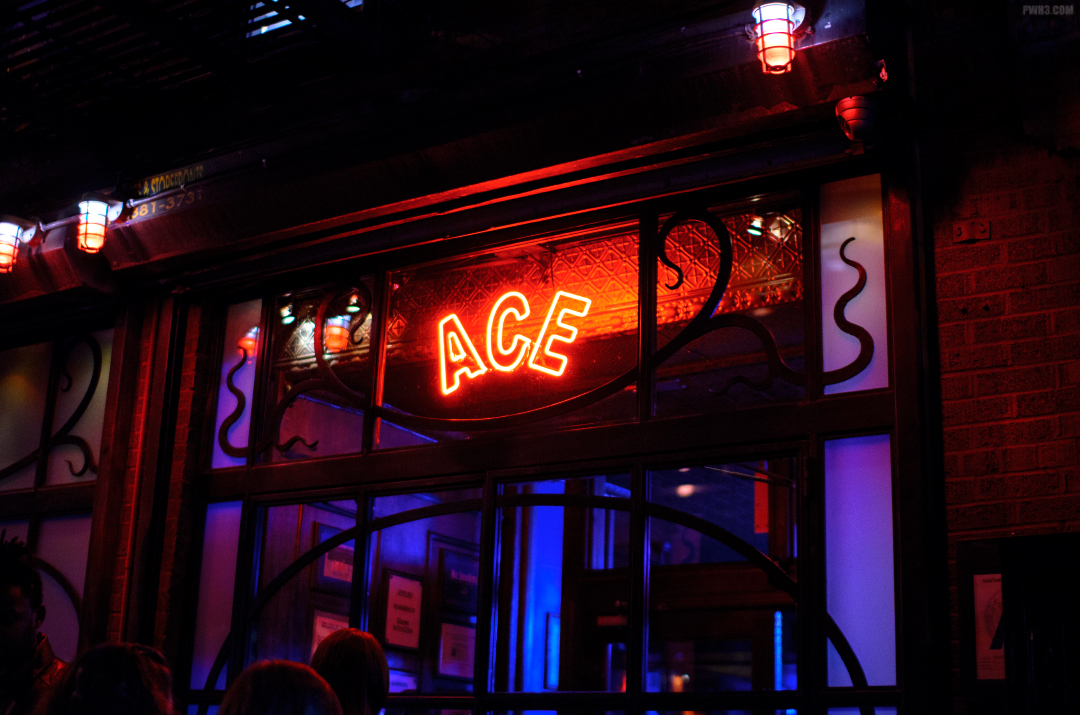
Late nights drinking… I mean… listening to jazz… in Harlem.

Keep it Simple

Starting over, I would try to keep everything as simple as possible. That means only two cameras. I say two cameras because I do think every photographer needs a backup camera, so in my “starting over” plan that’d mean owning a second copy of the same kind of camera or a closely similar model.

There were no sandwiches in here.

Keep it Cheap

I’ve spent a lot of cash on gear. I wouldn’t do that again. I would just get the cheapest camera that fits my needs and be done with it. Also consider that when a more expensive camera breaks, it’s more expensive to repair. I want a camera so cheap that I can just buy a new one for the cost of repairing a higher-end camera.

A dive bar during happy hour means I’m finally not the drunkest person in the room!

Image Quality Above All Else

In the past I have told myself that the image quality of certain cameras was “good enough”. Why even bother with carrying a camera around if you’re aiming just for “good enough” image quality? It is true that all modern sensors perform very well, but there are differences between the formats. There is a point where it’s hard to tell those differences (such as newer APS-C sensors versus full-frame sensors), but smaller sensor formats than APS-C just don’t deliver in a lot of circumstances. So no more “good enough” — I want superb image quality.

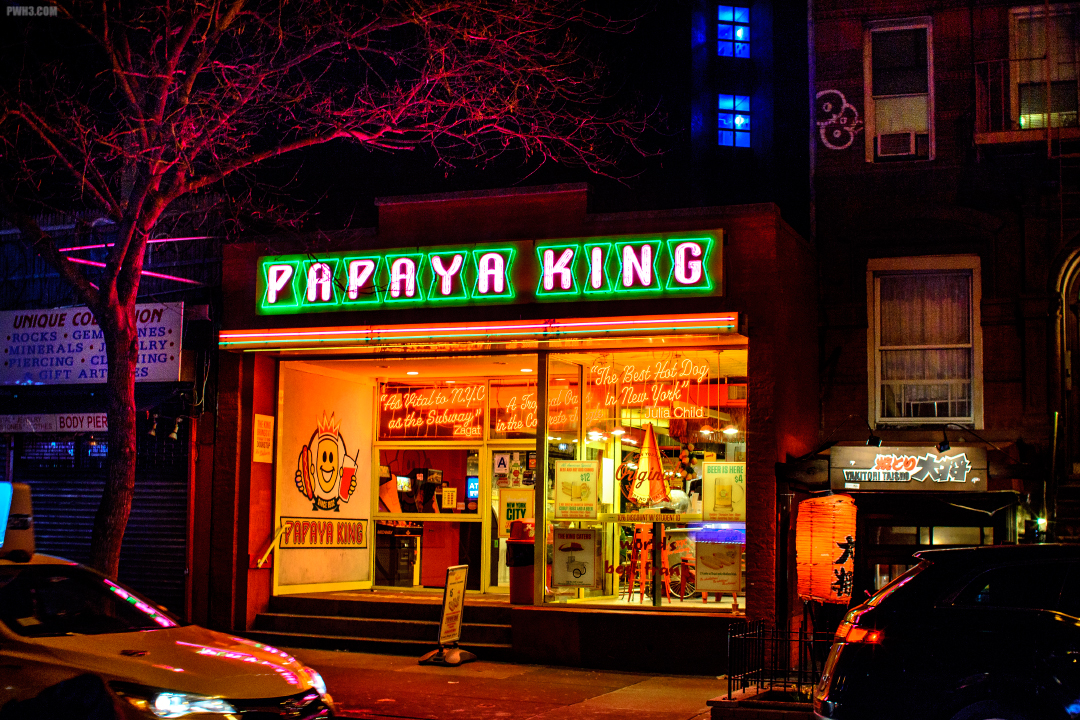
Give me a pink and teal hotdog, please.

Controls Aren’t That Important

I don’t care that much about controls, buttons, dials, menu design, and so on. Are you going out shooting to make beautiful images, or are you out there to hold a camera and play with the buttons? I would absolutely rather have a camera with fewer controls that made stellar images than a “pro” camera with tons of buttons and dials that wasn’t so great.

Another night, another bar.

Okay, Let’s Start Over

So what does this all mean? It means I’d choose an APS-C camera, like one from the Nikon D5x00 series. The sad thing is, I already have a Nikon D5100 that I feel performs better than any other camera I own. I should have just stopping buying cameras after that one. Using it with an old 30mm Sigma f1.4 lens, the D5100 delivers images I haven’t been able to match with other combinations. I can also easily set it up for video since it has a fully-articulated flip-out screen and an input for a microphone.

If I knew everything that I know now I would have just bought that one camera — or these days, Nikon’s latest version of it, the D5500 and focused on taking pictures rather than chasing gear.

Why don’t we ever see the Papaya Queen? Did she abandon him for Canada?

Every photo in this article was taken with my little Nikon D5100 & 30mm f1.4 setup. I bet you, dear reader, probably thought a more expensive, newer, or possibly even a full-frame camera took these images. But they didn’t. It was Nikon’s little outdated “amateur” model that made them.

Cheap, old cameras for The ‘Gram.

What do you think of my decision process and final choice? Leave a comment below with your thoughts and consider following me on Instagram.

What To Do When The MTA MetroCard Machine Steals Your Money

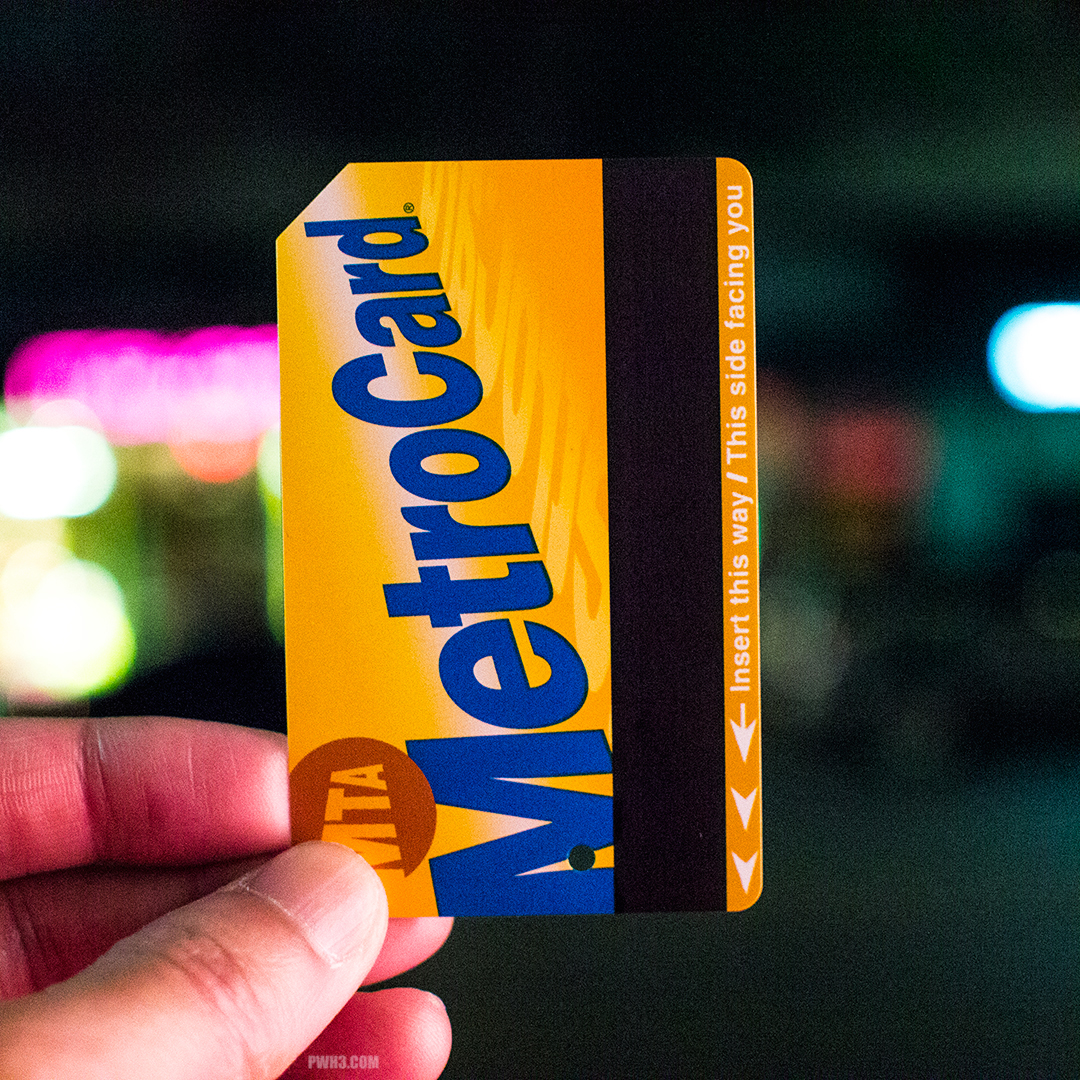
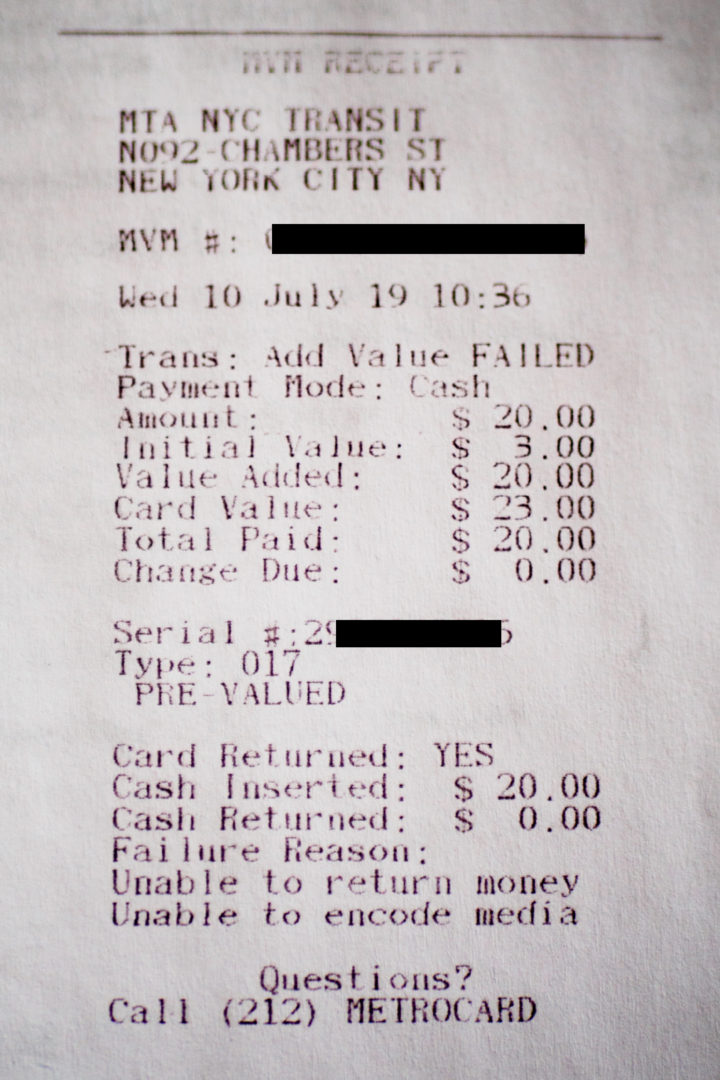
I was coming back from photographing an event in Manhattan, and wanted to add money to my MetroCard because I had a few more places to go to that day by subway and bus. When I tried to add more cash to the card, the machine gave an error, and took the twenty dollar bill without putting anything on the MetroCard. It spit out a receipt that showed an error code. The MTA had just stolen the money.

Robbed in the New York City subway.

I thought no big deal, I’ll just show this to the MTA employee working in the booth and get my money back. But of course, we are dealing with the MTA here: even though it just happened, even though I was holding the card that caused the error, and even though I had the freshly printed error receipt from the machine in my hand, the dude told me he could not refund me the money or even just electronically put the twenty bucks I lost onto the card. He said I had to contact the MTA for a refund. By writing them.

Luckily that wasn’t my last twenty bucks; I had more cash on me. But what if I didn’t? I guess I’d hop the turnstile like everyone else. Anyway, I spent another $20 getting a totally new card from the booth attendant and got on the next train.

Receipt of failed MetroCard transaction
The receipt of doom!

The process of getting a refund from the MTA is, naturally, a pain in the ass. First, make sure you keep that receipt AND the MetroCard associated with the messed up transaction. You will have to mail both of them to the MTA as proof of what happened. So even if you think the MetroCard is busted, don’t toss it out, and don’t try to use it again anywhere else. Maybe put a small mark on it with a Sharpie so you don’t get it mixed it up with another card.

You will have to print out and fill out the form located here:

http://web.mta.info/metrocard/pdfs/form.pdf

The form is, of course, badly designed — I found it hard to write the letters of my address and all the other stuff inside those stupid little boxes.  Then there’s a section of the form where you’ll have to write in all of the information that’s already on the receipt, because why not.

When you’re done, put the form along with the receipt and the MetroCard into an envelope and mail it off to the address on the form. And wait — it took about three months for the MTA send me back a new MetroCard.