
Photographing at night isn’t easy. For a lot of photographers just starting out with night photography, it can be a frustrating experience filled with photos that come out either too dark due to underexposure or very blurry due to camera shake.
But as you can see, most of my photos are taken at night and I feel I consistently get pretty good results. Here are some of my tips for shooting at night.
Use a Fast Lens Wide Open
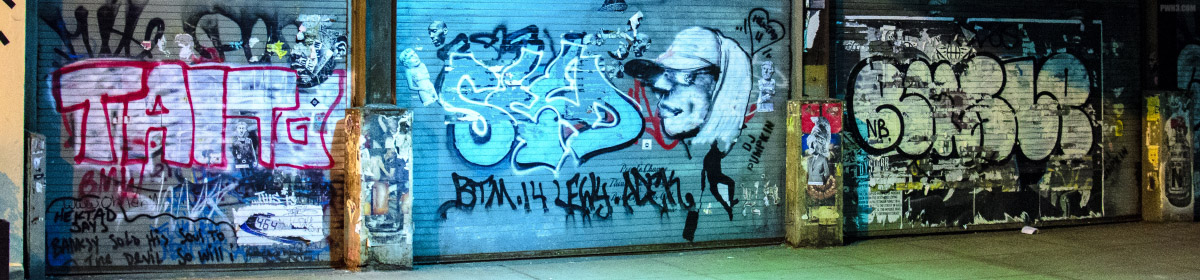
It’s important to let as much light hit your sensor as possible, and the best way to do this is to use a fast lens with a wide aperture. If you plan on doing a lot of night photography, it’s a great idea to invest in a prime lens that lets you shoot at f1.8 or f1.4. For the photo at the beginning of this article, I used a Nikon with a Sigma 30mm f1.4 lens. This is a lens for crop-sensor APS-C cameras and it’s perfect for night photography.
Shoot at High ISO
This is where a newer camera will give you better results, since newer sensors will give you cleaner images with less noise at higher ISOs. Typically, a lot of your night shots will end up being in the 1600 to 3200 ISO range. Most of my shots end up at ISO 3200, with some shots requiring ISO 6400. Sensor size comes into play here, with full-frame cameras giving slightly better image quality at high ISO. However, any modern camera made after 2012 will do a great job at high ISO.
Reduce Your Shutter Speed To 1/60th or Lower
Image stabilization comes in handy when shooting at lower shutter speeds, but if your camera does not have image stabilization (most of mine do not) then find some way of steadying your camera. Try holding it against a lamp pole or placing it on a bench if you have trouble keeping it steady handheld. I typically shoot at 1/60th or 1/30th of a second at night. Try putting your camera into Shutter Priority mode and setting it at either of these values.
Yes, Once Again, Shoot RAW
I have several articles discussing why you should always shoot RAW, so this should come as no surprise. It’s very important with night photos. Shooting RAW may help you save an image that would otherwise be unusable if shot in JPEG. The RAW file will also allow you to perform noise reduction much more effectively, since your shots definitely will have noise in them.
What About Using a Tripod?
Personally, I don’t ever use a tripod. Since I shoot on the streets of New York City, lugging around a tripod and setting it up for each shot would be a true pain in the ass. I like to shoot and move and I go to lots of different locations in one night — up and down bridges, on subways, on overpasses, in parks — so there is no way I am carrying around anything more than I need to carry. Using the tips above, you should consistently get nice results without a tripod.
I hope these basic tips help you get started shooting at night, and give you better results from your night shots. Do you have any tips for shooting at night that you’d like to share? Leave a comment below. And remember to follow me on Instagram.