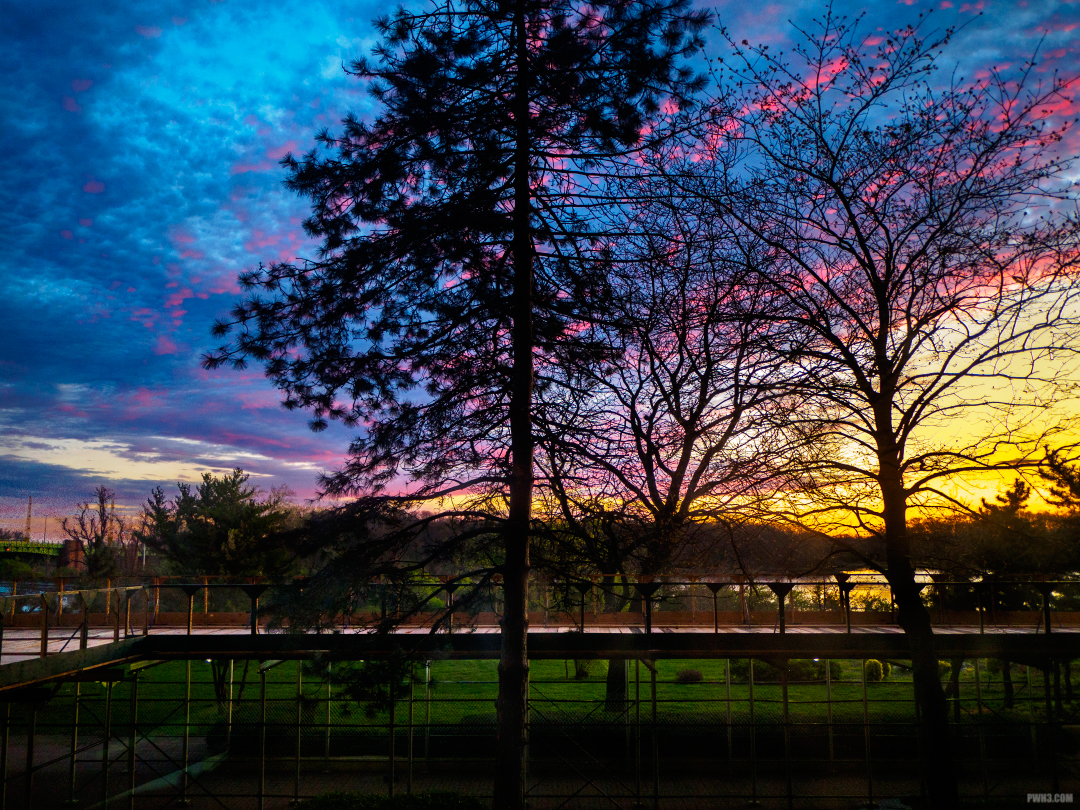
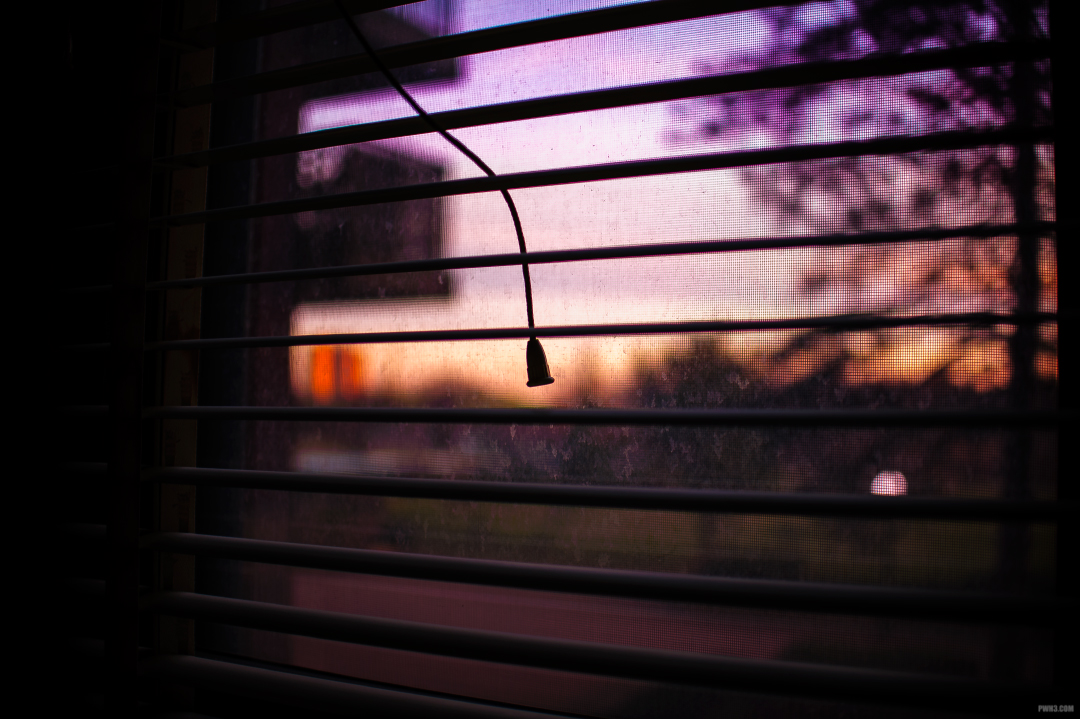
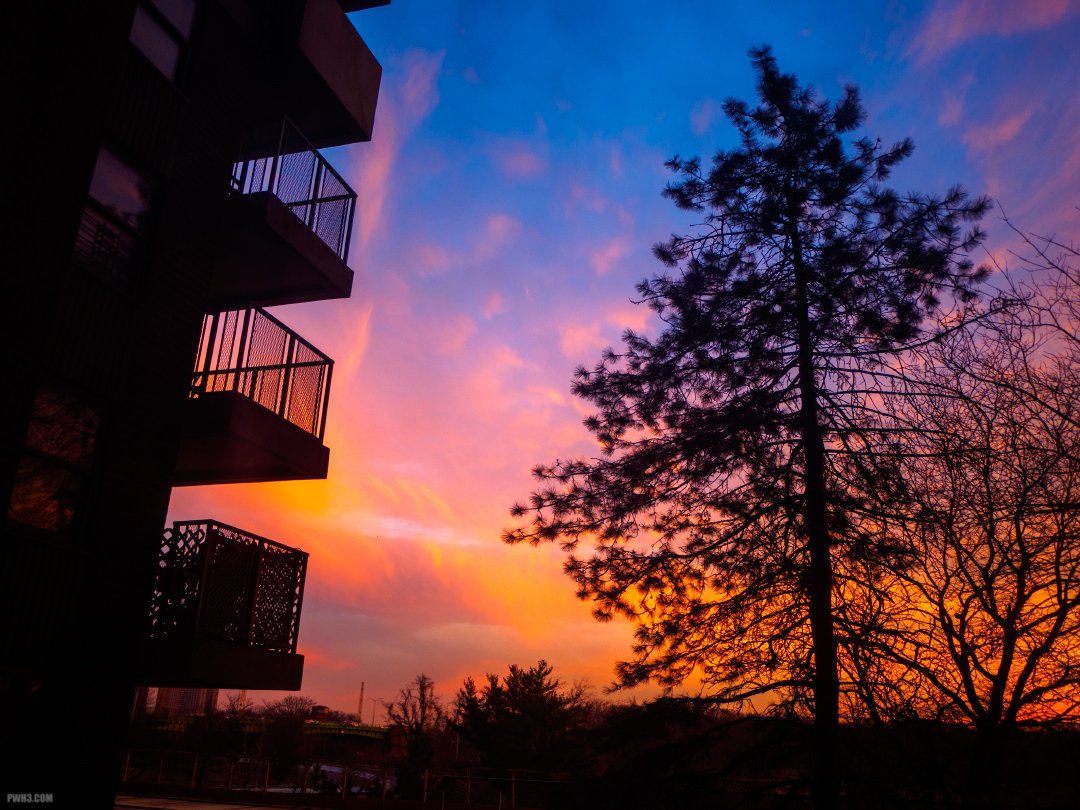
Many beginner photographers struggle with the issue of capturing detail in the sky. Whether it’s a sunrise, a sunset, or just an interesting cloud pattern that you want to capture, many times you will point your camera at the heavens and just end up with a bland, white sky.
The reason this is happening is because your camera is exposing the shot for the whole scene and not just the sky. Your camera wants to give you an evenly exposed photograph where everything is balanced. Usually this means that the camera will try to overexpose your shot to capture detail in the darker parts of your photo such as any ground, trees or buildings that may be included in the frame. Because of this, the sky in your shot will often be overexposed or “blown out”.
To fix this problem, what you need to do is force your camera to expose for the sky and only the sky. You can do that with exposure compensation.
What is Exposure Compensation?
Simply put, exposure compensation is a quick way to make your photos brighter or darker without changing anything else. You can leave all of the other settings the same and change the exposure compensation setting if your shots are coming out too bright or too dark.
For shooting skies, you’ll want to lower the exposure compensation so that it’s a negative number. That’s because the sky is always bright and we want our images to be darker to capture the detail.
How Do I Set The Exposure Compensation on My Camera?
Because you’re reading my blog, you’re probably using an entry-level Nikon camera, so to set exposure compensation just press and hold the button that looks like it has a plus and minus sign on it, like this: +/-
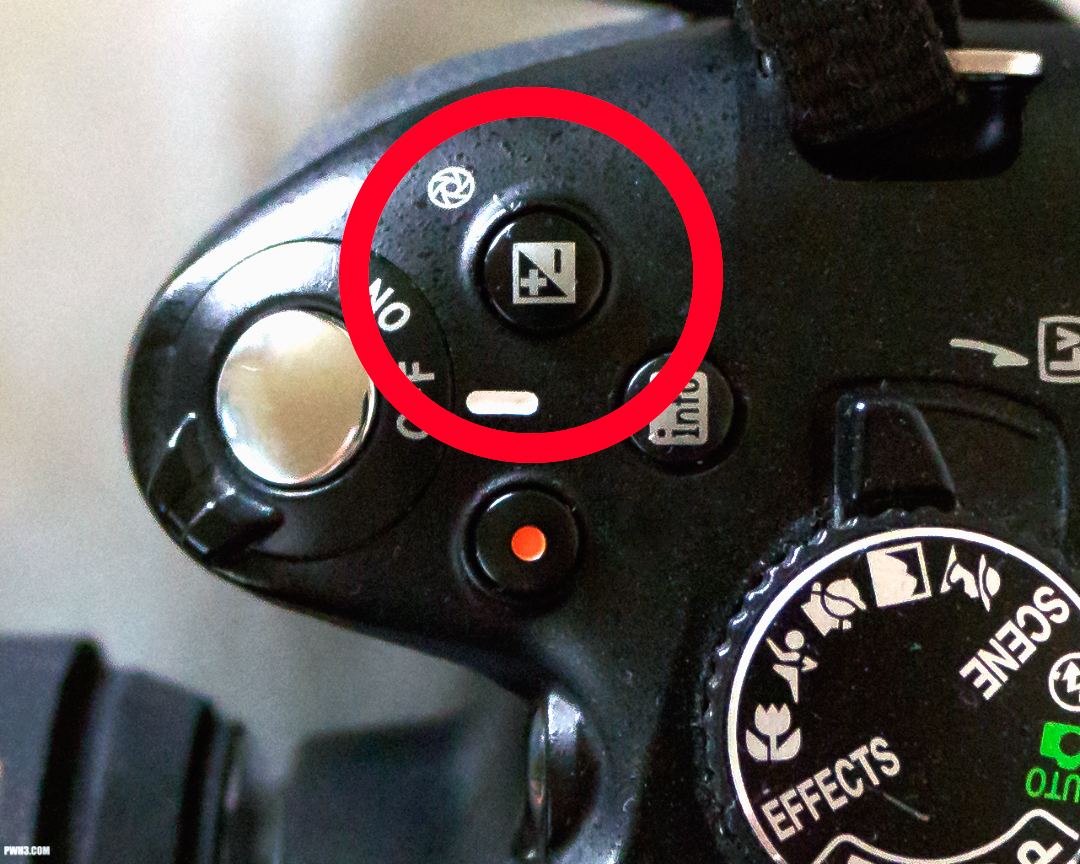
While holding the exposure compensation button, rotate the back dial on your camera. Look at the LCD screen on your camera and the Exposure Compensation number while be highlighted. Spin the dial until it’s set to -0.7 (negative zer0 point seven). I have found that this is a good setting to capture the detail in most skies, especially sunsets. If you find your sky is still too bright and the details are still blown out, then try lowering the exposure compensation to -1.o (negative one point zero) or even -1.7 (negative one point seven).
Remember that exposure compensation is meant to be changed depending on the conditions of the scene you are photographing. You may have to change the setting multiple times when photographing the same scene, especially during sunsets or sunrises where the light is changing minute to minute.
One final tip: when you’re done photographing, set the exposure compensation back to zero. It’s easy to forget that you’ve changed it, and you may end up grabbing your camera to snap a quick photo later and wondering why all your subsequent images are coming out too dark. I’ve made that mistake many times in the past.
Hopefully this article has helped you take better photographs of the sky. If you have any questions, leave a comment below, and don’t forget to follow me on Twitter.