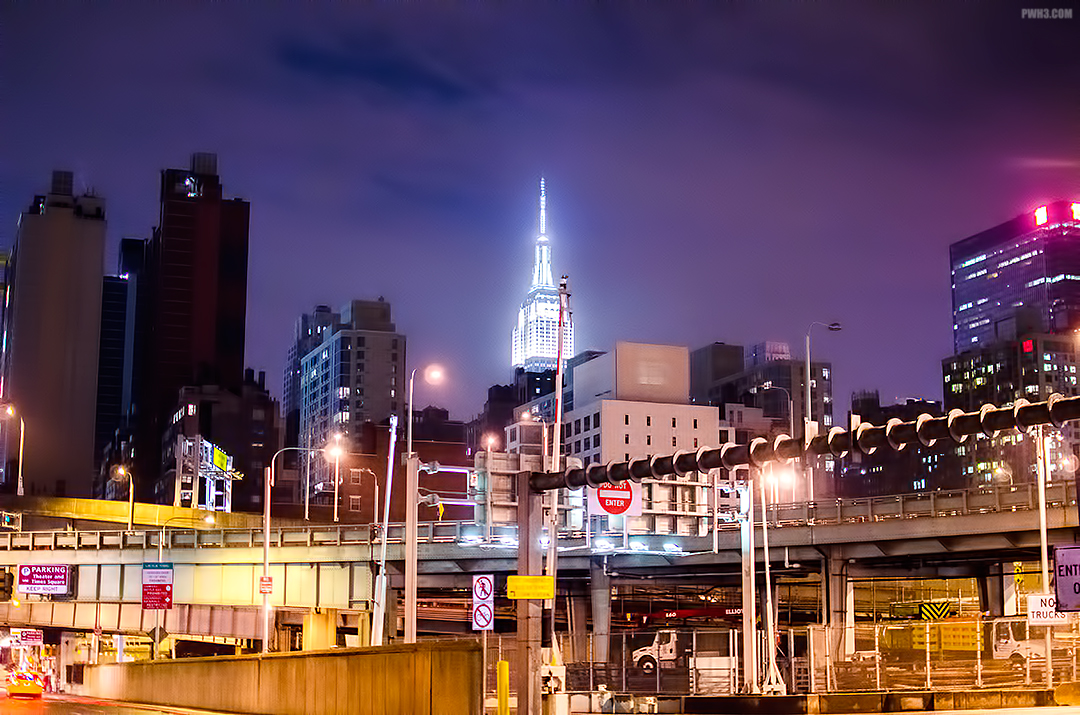
This image is also featured in my article Why You Should Shoot RAW. You can see the original version in that blog entry and get some information about the benefits of RAW. Taken with a Nikon D5100 and 35mm f1.8DX lens from the backseat of a taxi.
Category: Photography
A Visit to the Empire State Building Observation Deck
Standard Admission for adults to the Empire State Building’s 86th Floor Observation Deck is $34. Remember, don’t buy the tickets from the street vendors outside the building — it’s likely a scam. Buy them inside the Empire State Building on the second floor.
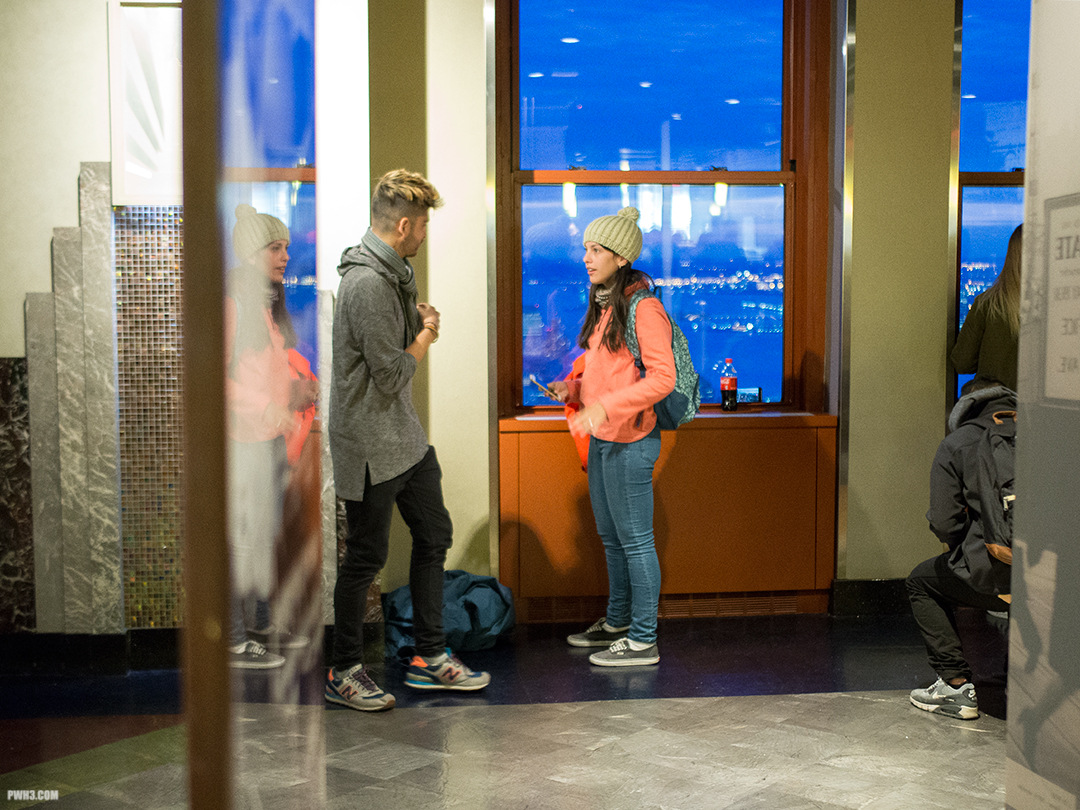
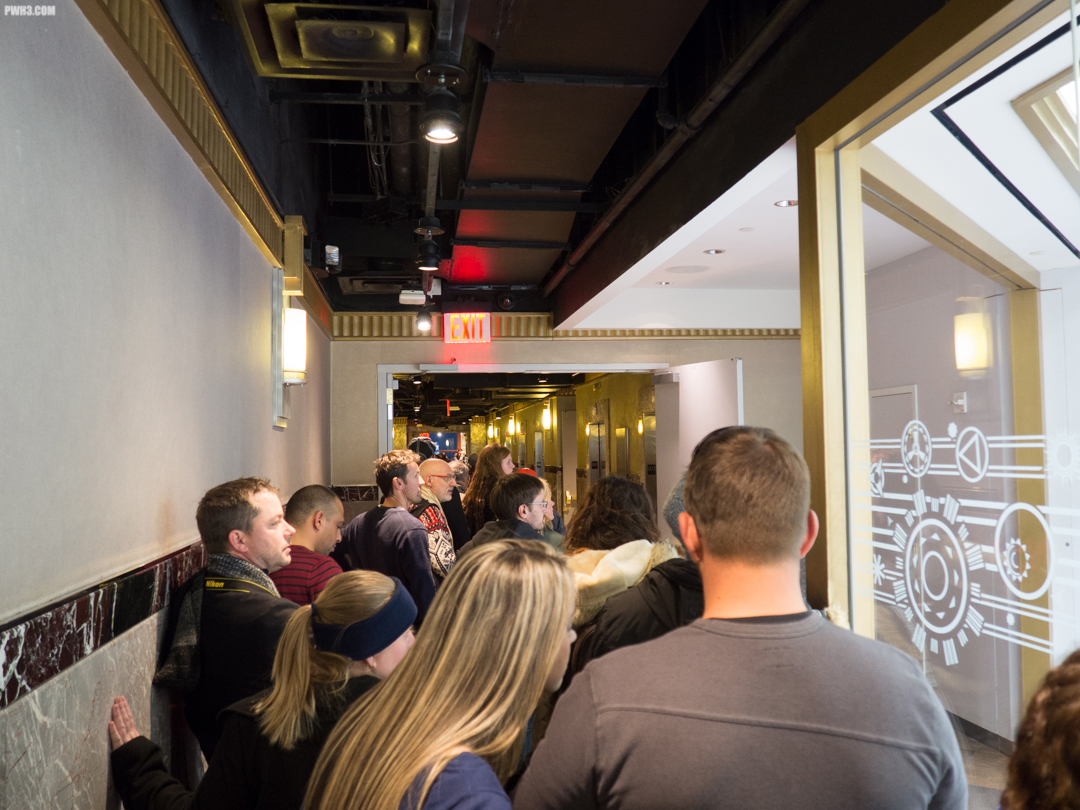
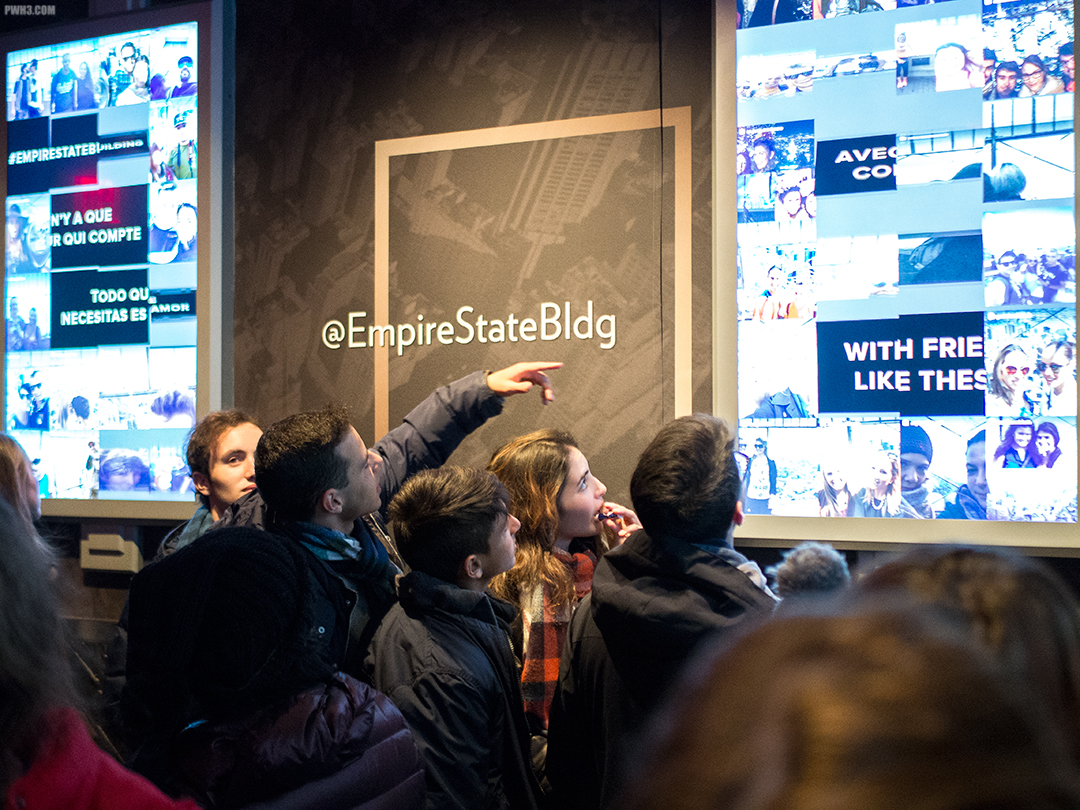
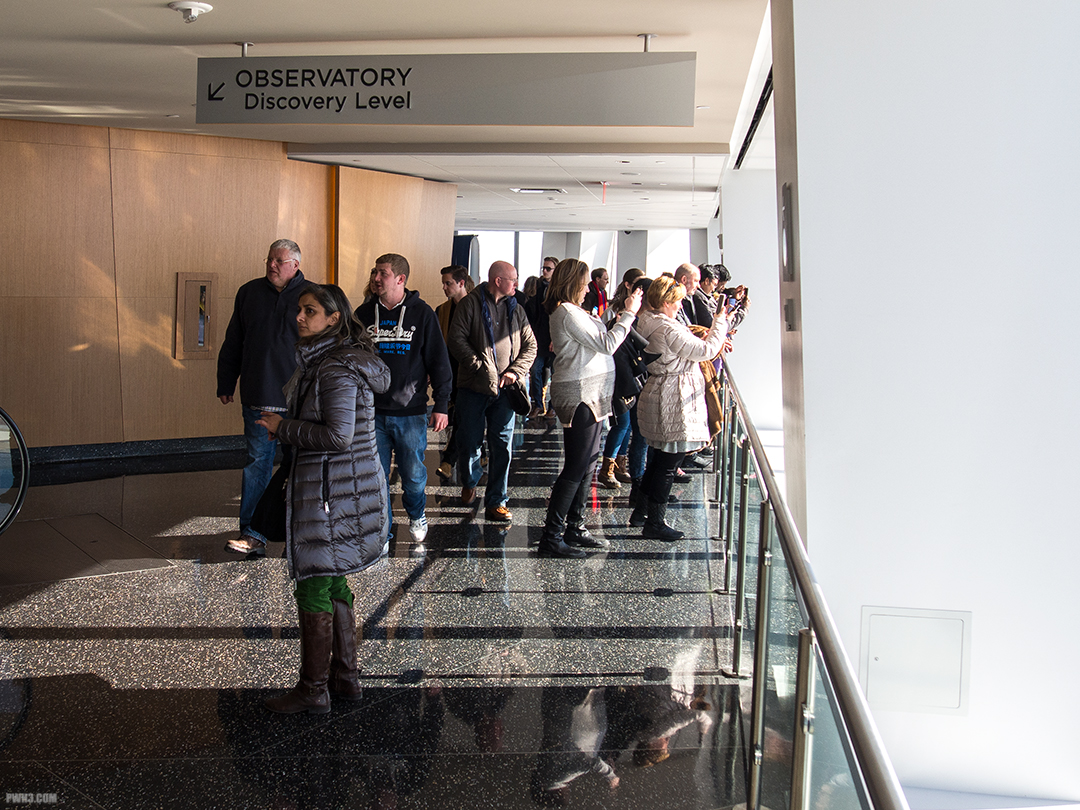
Much like at One World Trade Center, there will be very long lines and you’ll be subject to a security screening. Once that’s done, you’ll walk through winding Art Deco corridors until you reach the elevators.
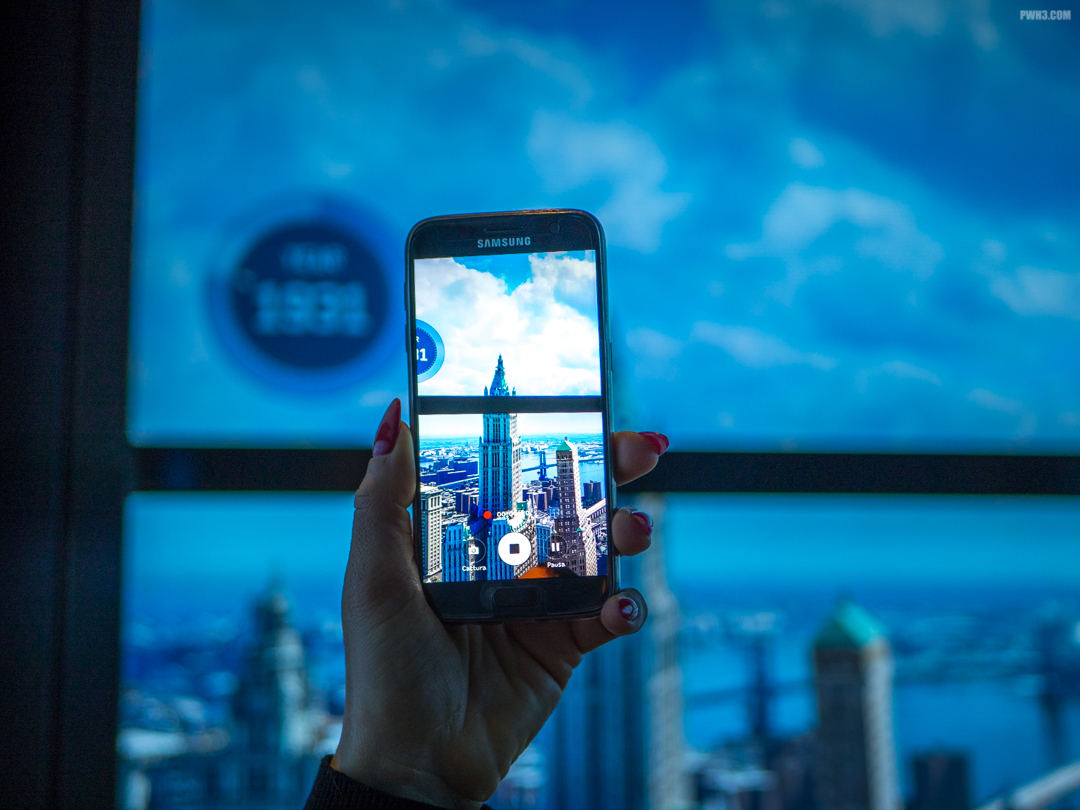
The first elevator will take you to the 80th floor. During the ride, you’ll see that the ceiling of the elevator is a screen depicting the construction of the Empire State Building, with steel beams flying overhead and the sounds of hammers and drills. Wisecracking construction workers with overdone “New Yawk” accents make jokes and comments as the beams come together.

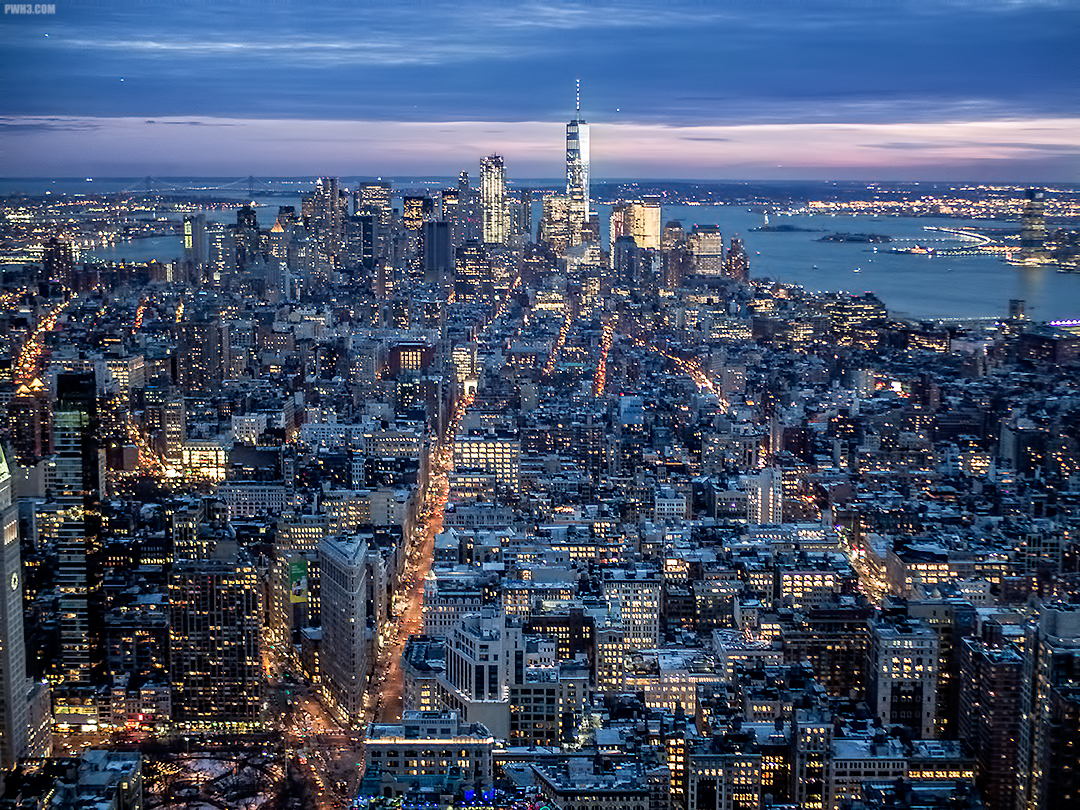
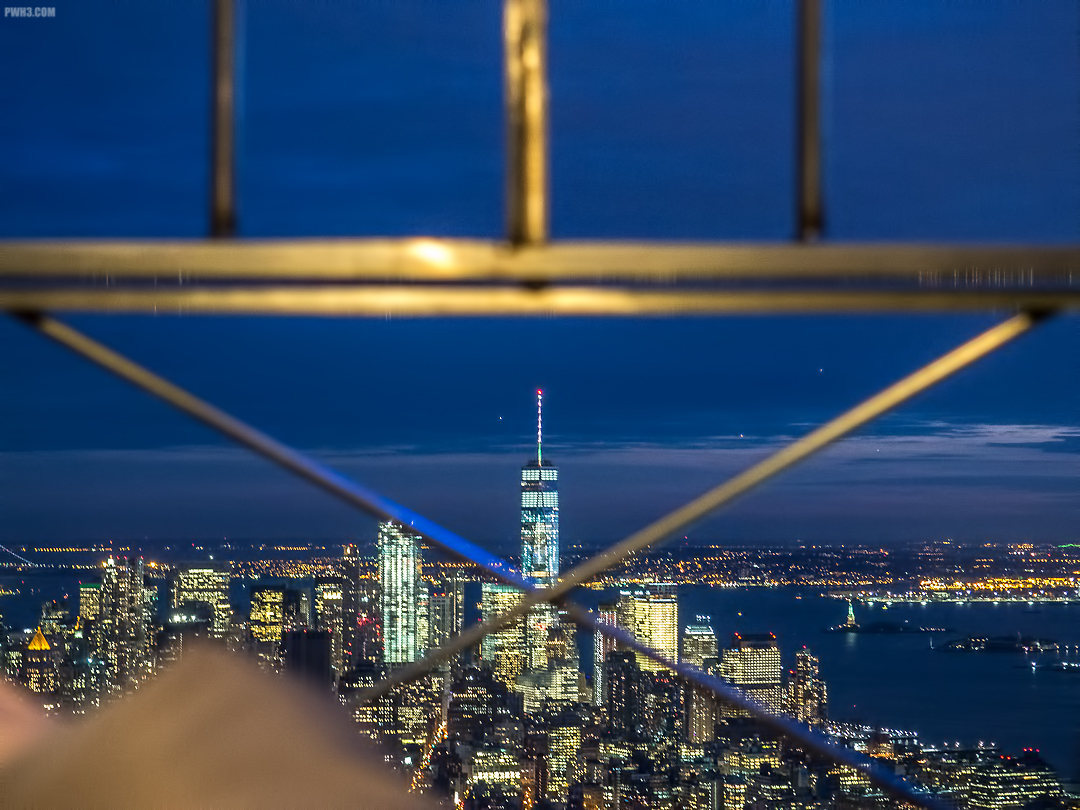
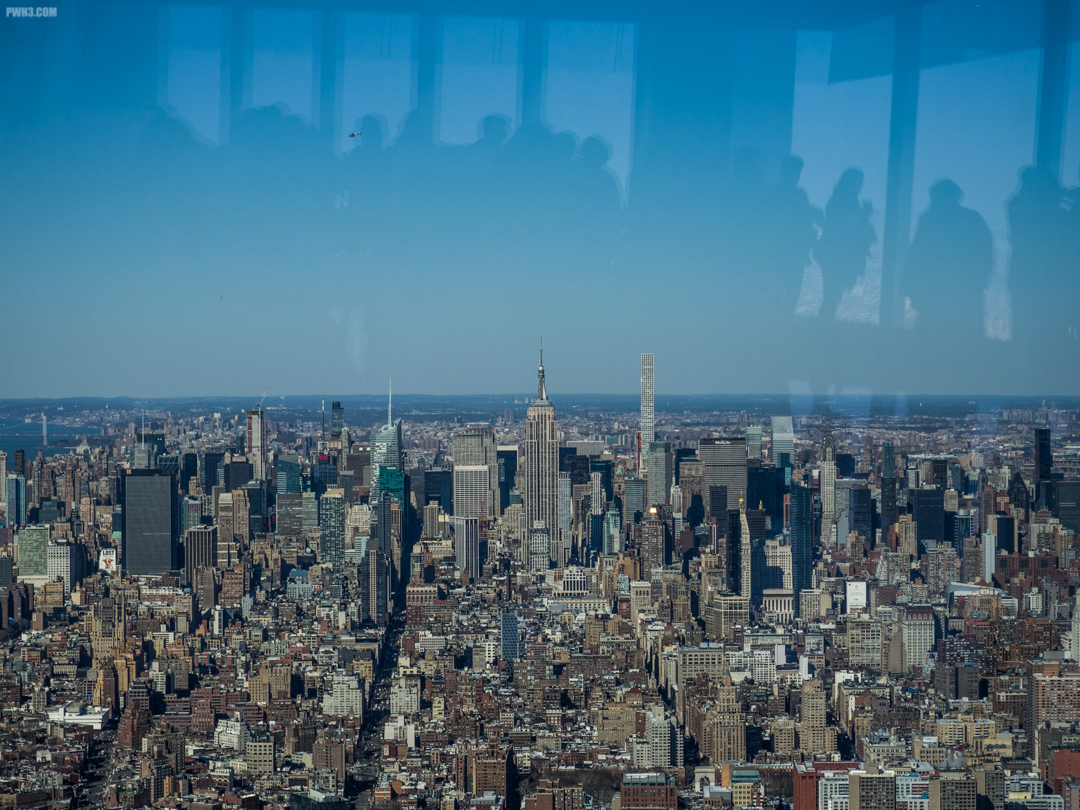
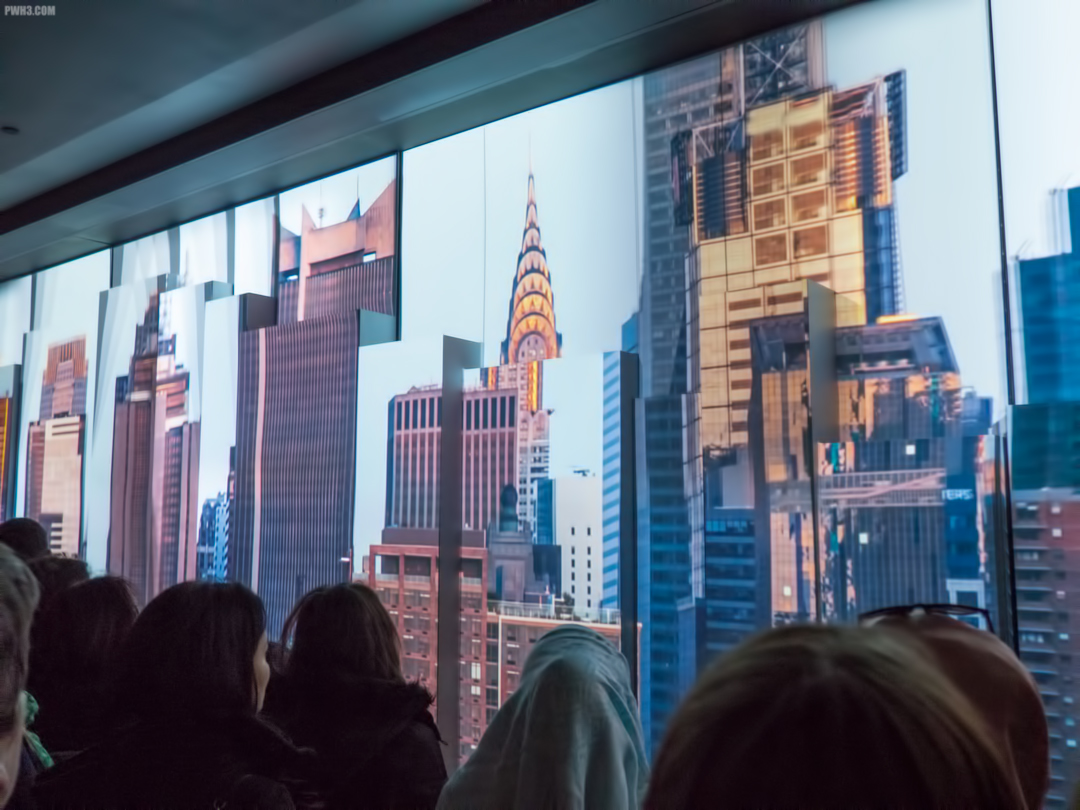
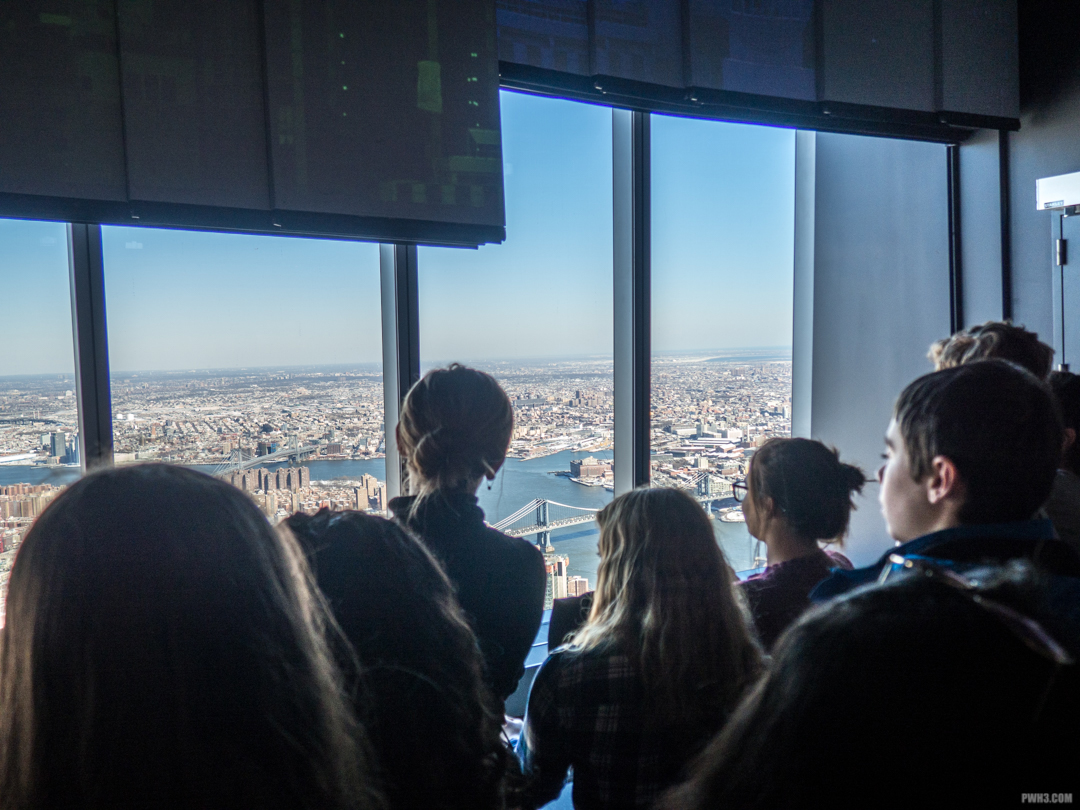
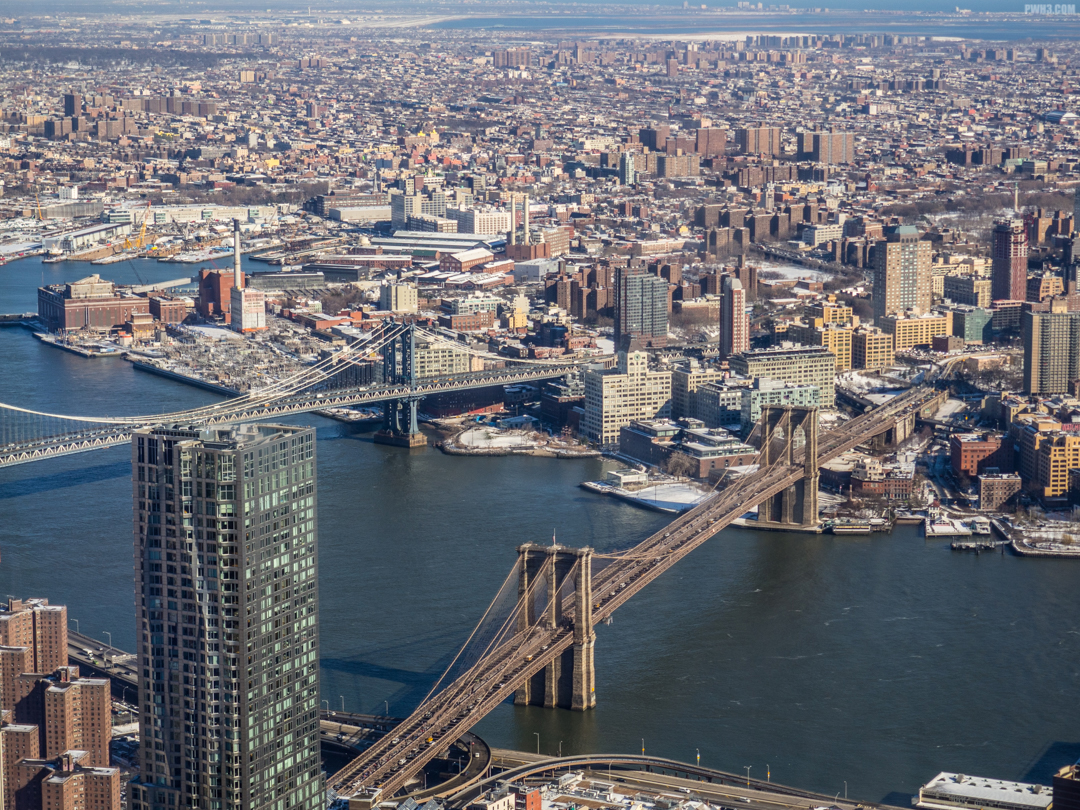
Once on the 80th floor, you’ll be able to see downtown Manhattan through the windows. You can see such landmarks as the Statue of Liberty, the Flatiron Building, and most notably One World Trade Center. You can spend as much time as you like looking out of the windows on the 80th floor and taking pictures. Just be sure to take care while photographing since you’re shooting through thick glass.
Next you’ll line up to get on to a second elevator. The line stretches past the gift shop, which you’ll later exit through on the way out of the building.
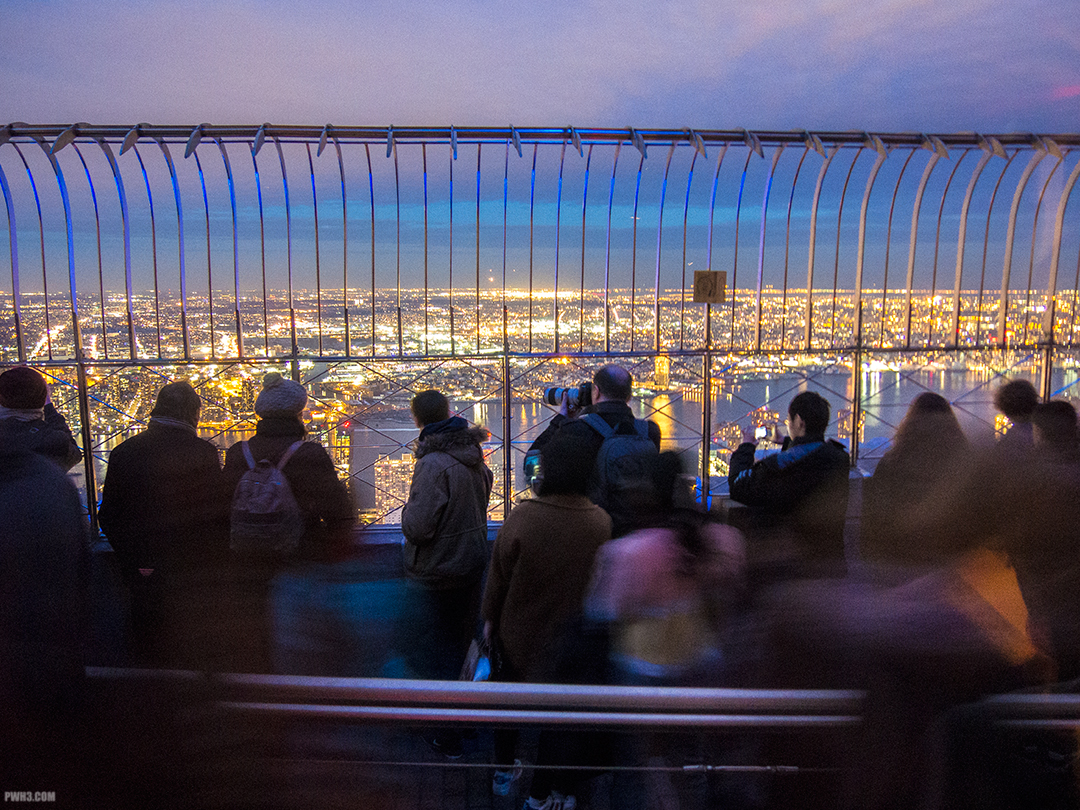
The second elevator will take you to the 86th floor and the Observation Deck. Here you’ll be outside and have the full experience, with quite a few amazing views. Even better, your photographs will look great since you’re outside and there are no windows, just the iron bars which you can shoot through.
You can spend as much time as you want on the Observation Deck as well, but it’s usually rather crowded. Expect to be standing shoulder-to-shoulder with others, and brace yourself for the inevitable bumps and jostles. Be careful if you’re toting a big camera and long lens.
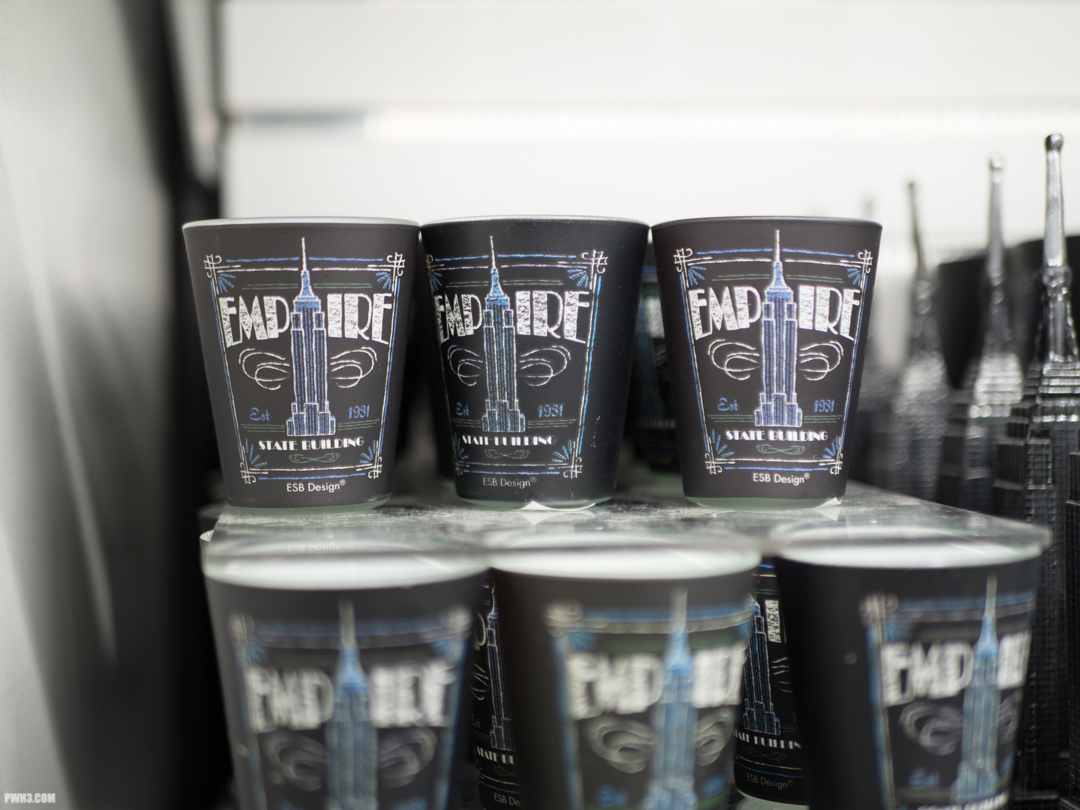
Once you’re done taking in the sights, you’ll exit through the gift shop I mentioned before, which has all sorts of Empire State Building-related souvenirs.
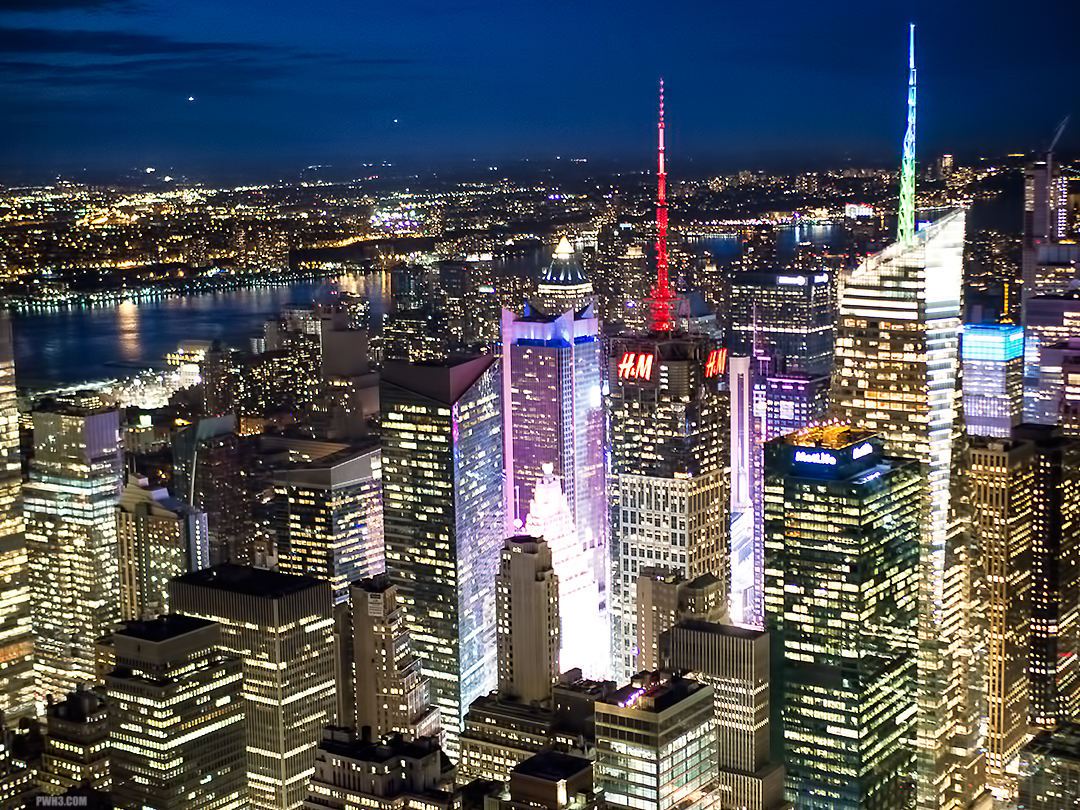
I didn’t like the experience at the Empire State Building as much as I did at One World Trade Center Observatory. However, at least from a photography standpoint, the views are much better from the Empire State Building because you’re not behind glass.
Because of the spectacular views, I recommend giving the Empire State Building a visit. Try to time your visit so that you’re on the 80th floor around sunset for the most spectacular sights, and hang around to get some good night shots.
Photos in this story taken with an Olympus EM-10, Panasonic 25mm f1.7 and the Olympus 14-42RII kit lens.
Why You Should Shoot RAW
I always recommend that all photographers, even beginners, shoot RAW instead of JPG. Here are my reasons:
Exposure
It happens: you were in a hurry and underexposed your image. It’s too dark. But RAW files contain so much information when compared to JPG files that you can lift the exposure without degrading the image quality. Depending on the file and camera used, you may be able to increase the exposure by two or three stops without ruining it.
Color Correction
Fixing white balance issues is very simple in RAW, as well as controlling the hue and saturation levels of individual colors. For example, after white balancing the image, if something in your image is still too red or too yellow you can specifically reduce the saturation levels of those colors, without touching the other colors.
Noise Reduction
RAW files have no noise reduction applied, so you can apply your own. We all hate noise, but sometimes when shooting in JPG, the camera will apply too much noise reduction and make fine details like hair or architectural lines look “mushy”. RAW lets you add just the right amount.
Sharpening
As with being able to control the amount of noise reduction applied to the image, you can also control the amount of sharpening. Some JPG settings cause certain images to look oversharpened. In certain situations, such as portrait photography, you may not want any sharpening at all.
Luminance Channels
My favorite aspect of working with RAW files, since I shoot a lot of scenes with city lights. You can boost or lower the brightness of certain colors of light. For example, if you want to make the red traffic lights in a street scene stronger while reducing the strength of the headlights of cars, you can do that specifically, without brightening or darkening the other light sources in the image.
Future Software
One last interesting thing about RAW is that the software used to edit RAW photos is often being improved upon by software developers. This means that you can go back to your old RAW files months or even years later and extract even more detail. Try loading that old, underexposed file that doesn’t look so good through a new RAW converter and play around with it. You may be able to pull out something amazing from it. I certainly have been able to. A JPG on the other hand is basically frozen in time.
This is the original file of the image at the beginning of this article — the JPG image that is automatically made alongside the RAW file. It’s not bad out of the camera, but editing the RAW version of this image really helped me bring it to a whole new level. RAW is particularly useful when using a camera with a smaller sensor such as APS-C or Four Thirds or when using an older camera — you can really get the most of out of your images with a little editing.
If you have any questions about RAW or editing, feel free to comment below or e-mail me.
A Visit to the One World Trade Center Observatory
Standard Admission to the One World Observatory is $37 dollars per adult if you buy the tickets inside at the window. Keep in mind that the lines are always long and you’ll have to go through a security screening process. You’ll be required to remove any jackets, bags, belts, phones, and electronics and place them in a bin to be scanned while you step through a metal detector.
Once that’s done, you’ll walk along a tunnel-like corridor lined with presentation screens that display short movies about One WTC and Ground Zero. This corridor eventually leads to the elevators.
Once inside an elevator, you’ll find that the elevator walls are actually screens that show an animation of how New York City has changed over the decades. This is done in a way that gives you the sensation of rising above the city while it builds up below you. The elevator ride ends with a depiction of the construction of One WTC itself as you see steel beams assemble overhead.
You’re then brought into a theater-like area and treated to a movie projected onto a large wall showing all sorts of scenes from around NYC.
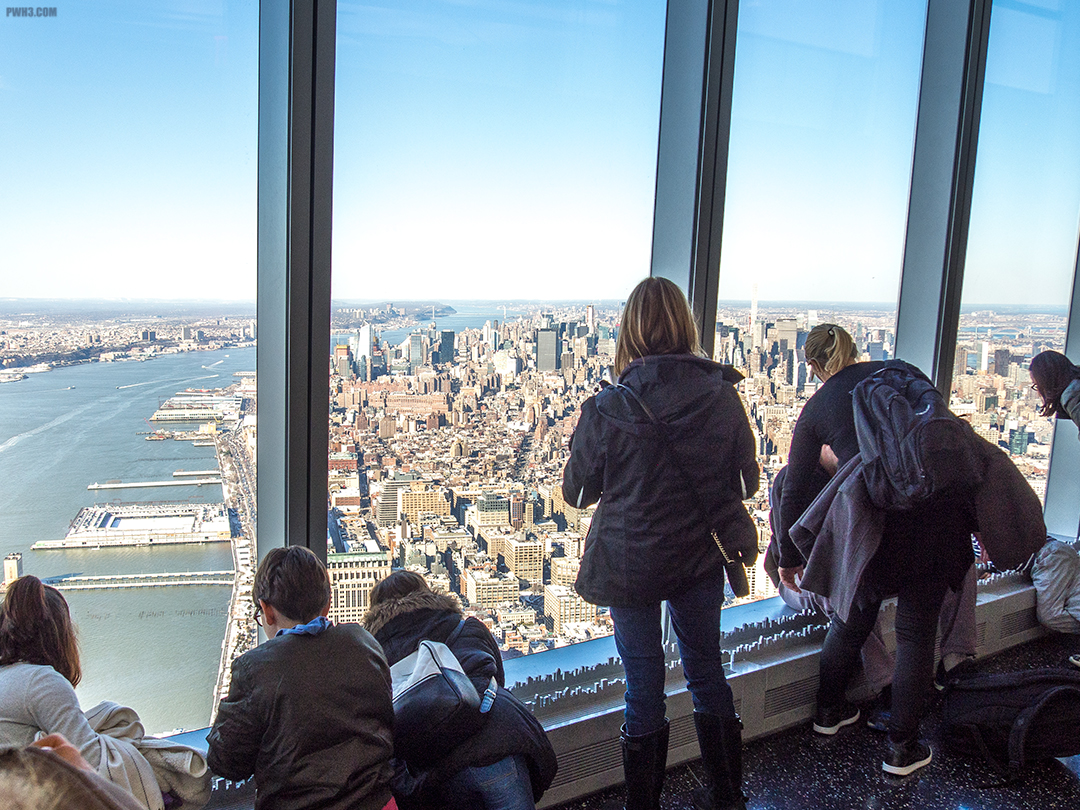
When the presentation ends, the wall itself lifts up revealing huge windows and a taste of the amazing views that One WTC offers.
After a brief orientation from one of the staff members, you’re given the chance to take in the views of the city via One WTC’s two-level observatory.
Through the large windows you can see many landmarks including the Brooklyn Bridge, Statue of Liberty, and the Empire State Building.
You have as much time as you want in the Observatory. There’s even a cafe that serves coffee, tea, pastries, sandwiches, and so on. So relax, hang out, enjoy the views – and take lots of pictures.
Whether you’re visiting New York City or are a long-time New Yorker, I highly recommend visiting. All of the presentations were excellent, the staff was very friendly, and the overall experience was inspiring and uplifting with a very positive statement about New York and the city’s resiliency.
Photos in this story taken with an Olympus EM-10, Panasonic 25mm f1.7 and the Olympus 14-42RII kit lens.
Beginning Photography Cheaply
So you want your very first “real camera” — you want a DSLR. You’re ready to step up from your point-and-shoot or smartphone. But you’re not sure what you should buy to get started, and you don’t want to spend too much money as a beginner. Here’s my advice:
Buy Used
There are some people that will scoff at the idea of buying anything used, but it’s extremely common in the photography world to buy used gear. Photographers are constantly selling their equipment for various reasons. Sometimes a photographer doesn’t use a camera or lens as much as they thought they would. Or maybe they are selling off equipment to buy something more expensive. Whatever the case, the used photography gear market is thriving and you’re sure to find whatever you want at a discount. It’s true that there’s always a risk that some used gear may be in bad shape or may not function properly, so use a reputable source like KEH or Amazon (both have generous and easy return policies) and you’ll be fine. You can also try ordering refurbished equipment directly from the manufacturer.
I personally rarely buy any of my equipment new; nearly every piece of gear I have was bought used. Many of my cameras and lenses are very old.
Buy a Nikon
For a beginner, choosing between Canon and Nikon is often an agonizing decision, so I’m going to make it easy for you: just buy a Nikon. Okay, I’m a Nikon fan, it’s true. But they really are great cameras, and any Nikon DSLR made after 2011 is going to give you very high-quality images. And when compared with similar cameras from Canon, Nikon cameras usually have more megapixels and better sensors.
Buy One Lens
When you’re shopping for your used Nikon, keep in mind that it’s likely just the body you’re buying. You’ll also need to buy a lens. But don’t buy a bunch of lenses. As a beginner photographer, you’re going to be figuring out your style and what you like to shoot. Get one general-purpose lens and stick with that for a while.
My Specific Recommendation
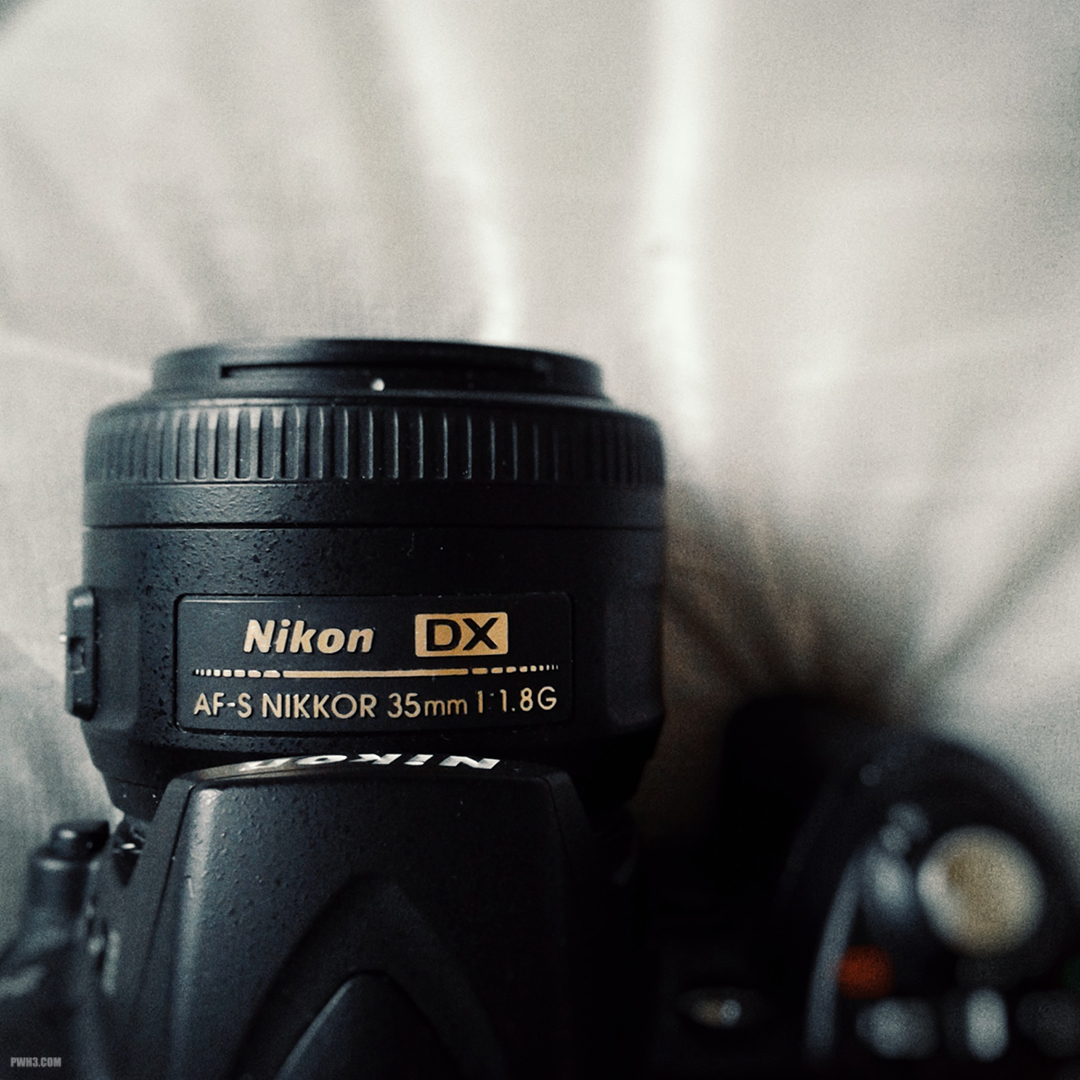
Buy a used Nikon D3300 and a 35mm f1.8G DX lens. The Nikon D3300 is a very good camera, with excellent image quality. It’s also small and light, which means you’ll be more likely to throw it in a bag and bring it with you everywhere.
The 35mm f1.8G DX lens is a great all-around lens. It’s inexpensive, very sharp, focuses quickly, and it’s small. It’s also good for low-light situations, such as night photography or taking pictures of your friends in dimly lit bars. The lens is also good for people shots since it will give you that nice “blurred background” look when you take a picture of someone’s face. Also, it can focus very closely on objects — great for food shots, for example. And you won’t have to buy anything else for a while.
Good luck getting started on your photographic journey, and if you have any questions feel free to e-mail me, message me on Instagram, or leave a comment below.
New York City Skyline as Seen From a Rooftop Bar
This view is from the Press Lounge, at the top of the Ink Hotel. Very nice spot, and I feel it has some of the better views of the city. The staff is also extremely nice and professional, which is always a plus. Expect to pay around $17 for a glass of whiskey, however.
Taken with a Lumix GX1 and Panasonic 20mm f1.7 lens.
View of part of the New York City Skyline from Pier I
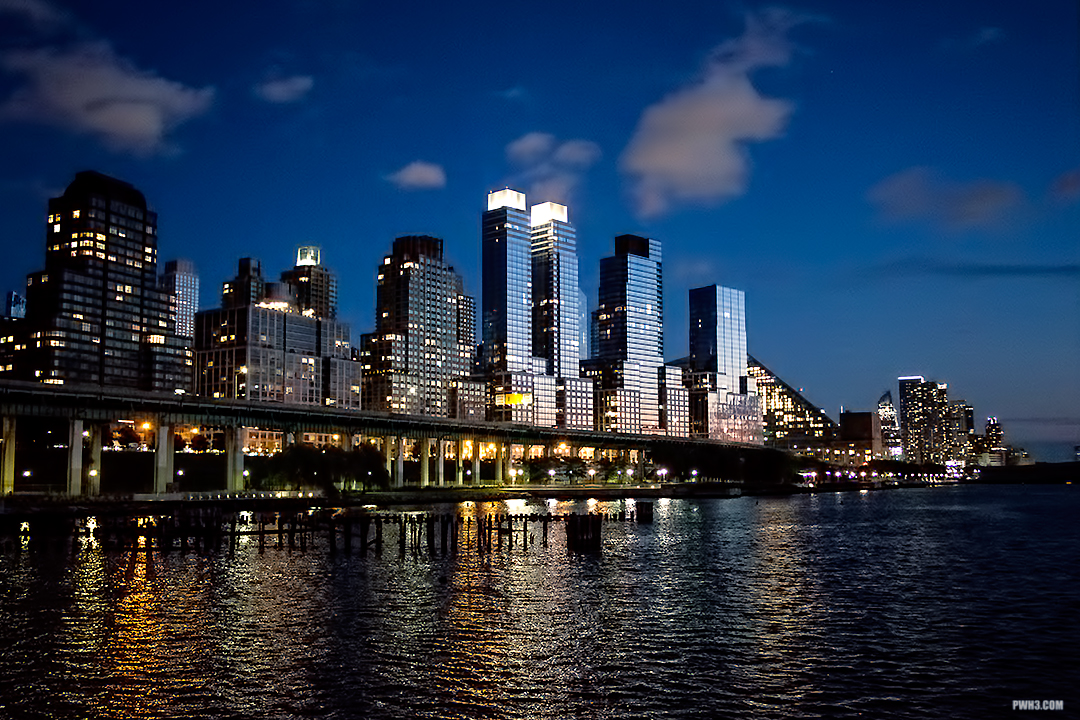
Pier I (West 70th street) is one of my favorite places to hang out at in the summer. You’re treated to a very nice view of part of the skyline. Facing the other way, you can see the New Jersey skyline, which is actually very beautiful as the sun sets over it. It’s also relaxing to just sit or stand there and watch the sailboats and jet skis go by.
In addition, there’s an outdoor cafe there that sells booze. Great place to take a date on a nice summer night.
It’s next to the West Side Path, so watch out for bikers when you’re heading home after a few drinks.
Photo was taken with an Olympus OMD-EM10 and the Panasonic 14mm f2.5 lens.
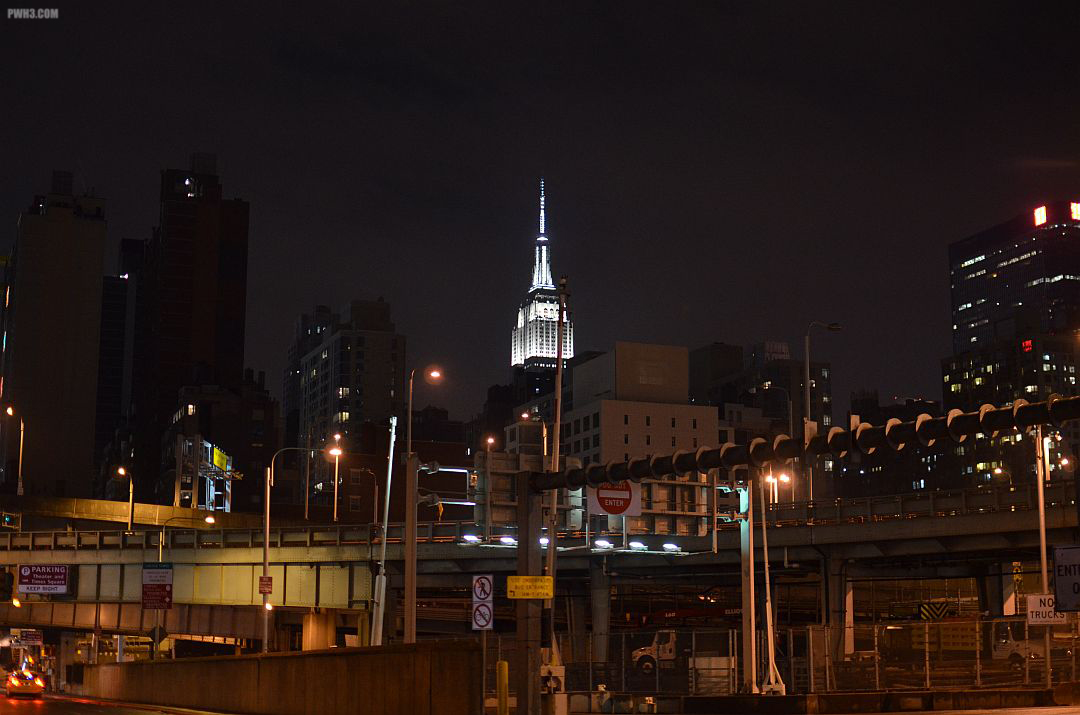
Empire State Building as seen from Long Island City
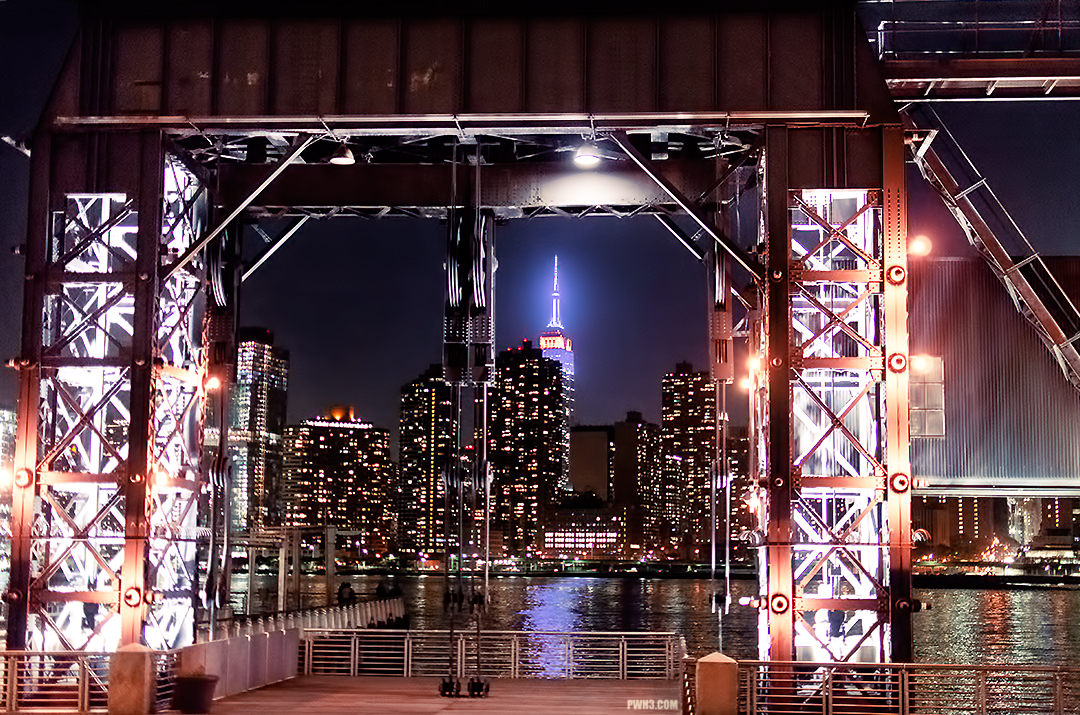
This is a shot of the Empire State Building as seen from the pier in Long Island City. The building is lit up in the colors of the New York Mets baseball team. Taken with a Nikon D5100 and the 35mm f1.8 DX lens.
View of the New York City Skyline from the Millenium Hotel
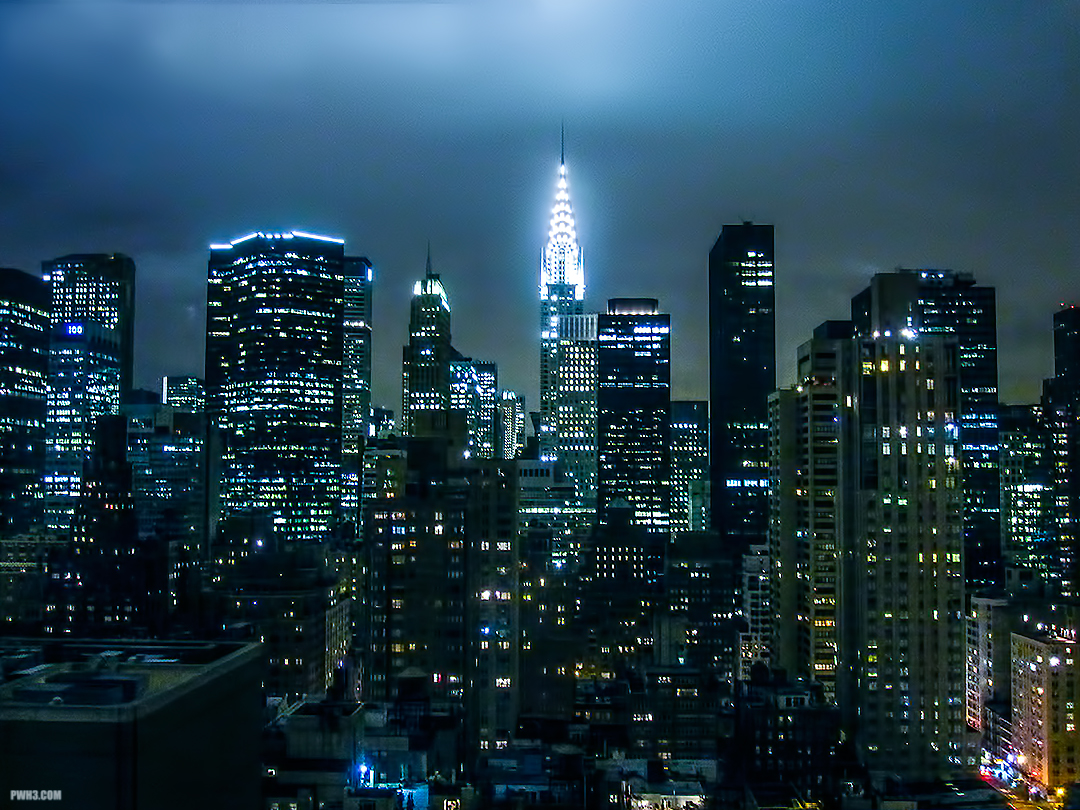
I took this photo years ago, in 2010 I believe. I used a little Canon point & shoot camera, pressed against the window of the hotel room. Recently I found this photo in my archive and used Photoshop to bring out the colors and sharpness, as well as reduce the noise.
I am not one of those photographers who will tell you “the camera doesn’t matter!” because it certainly does. However, once in a while, you can get a great shot even with a lowly point and shoot (and some Photoshop skills).
In this photo the main point of interest is the Chrysler Building, one of my favorite buildings to take pictures of.
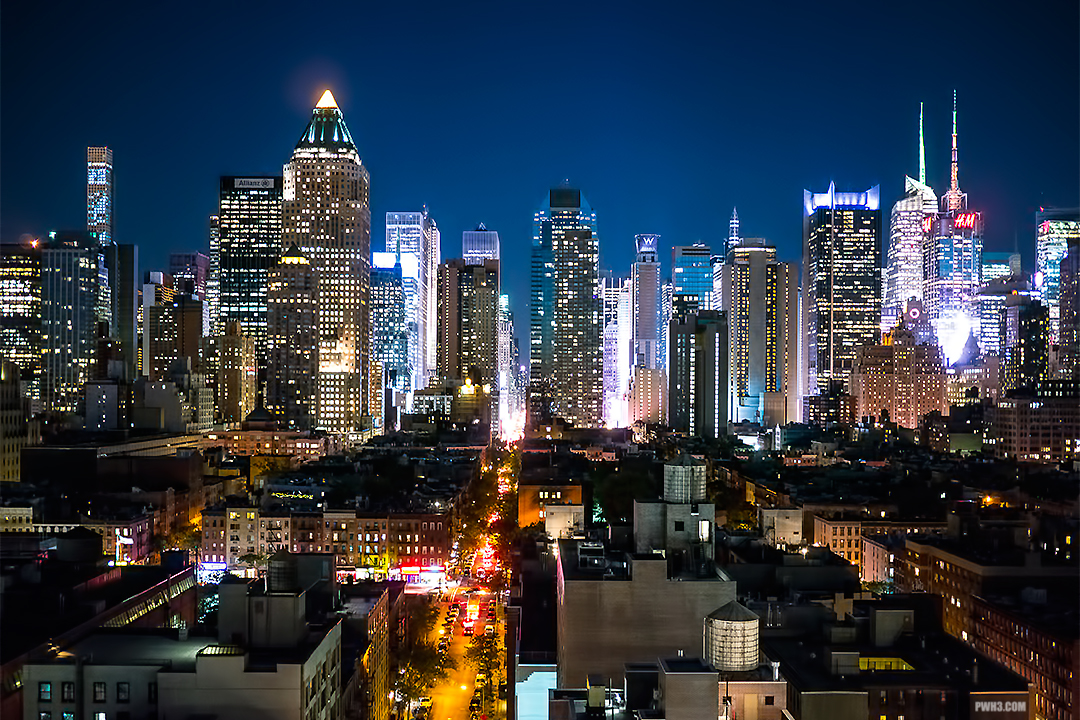
New York City Skyline As Seen From the Ink Hotel
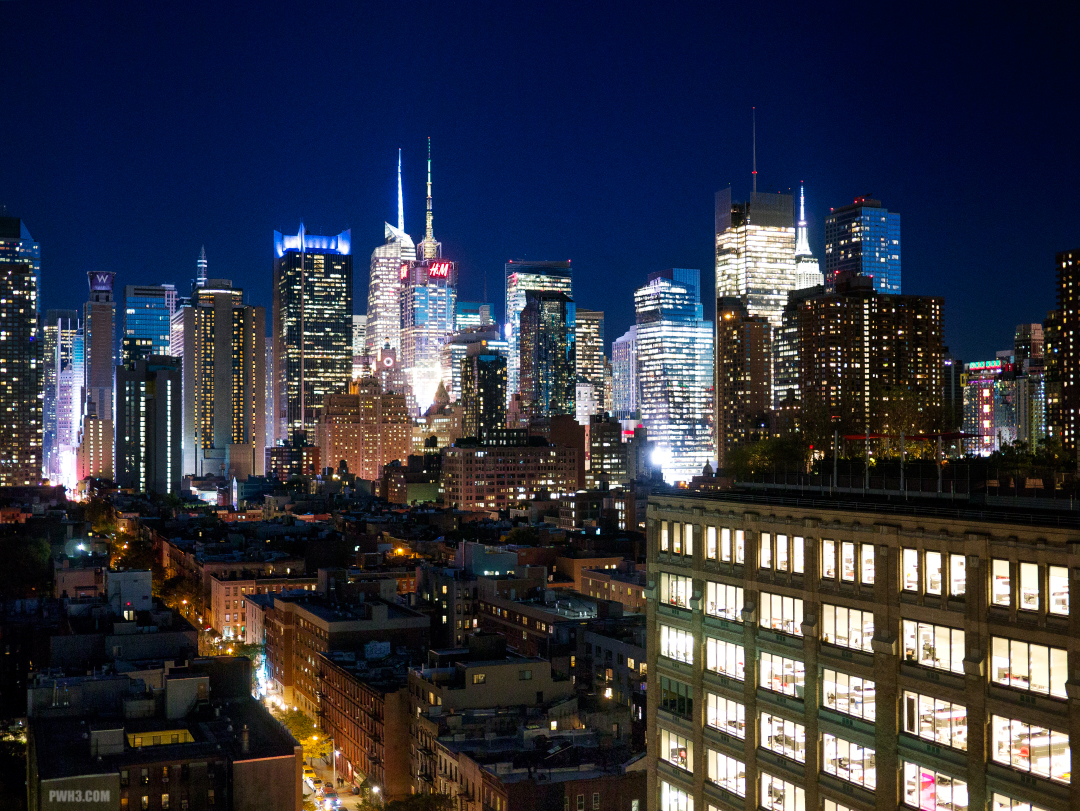
The Manhattan skyline is beautiful at night with all of the lights shining. In this photo you can see many major corporate buildings, such as the Conde Naste Building (the one that says H&M on it) and the Bank of America Tower behind it.
Towards the right side of the image, you can see the Empire State Building hiding behind the New York Times Building.
Taken with a Lumix GX1 and Panasonic 20mm f1.7 lens.