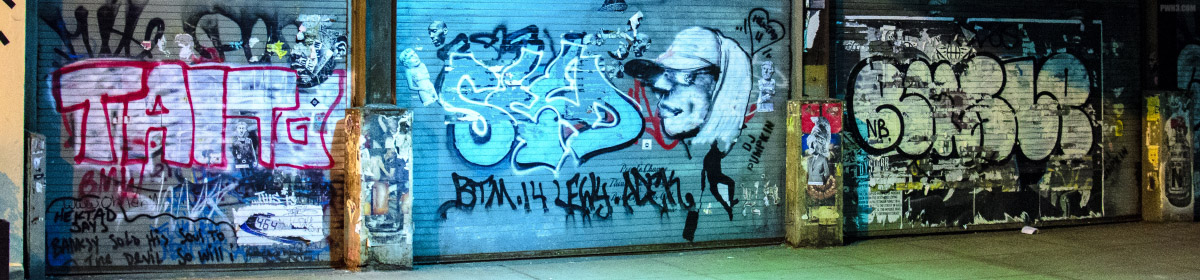
Shooting at night in the city isn’t easy, which is why many photographers don’t bother with night photos. You need to be precise with your technique, and having specialized gear such as fast, wide-aperture prime lenses and a camera with a good sensor is a big help. But no matter what gear you’re using, there’s one very important tip for taking good night photos.
Always Overexpose
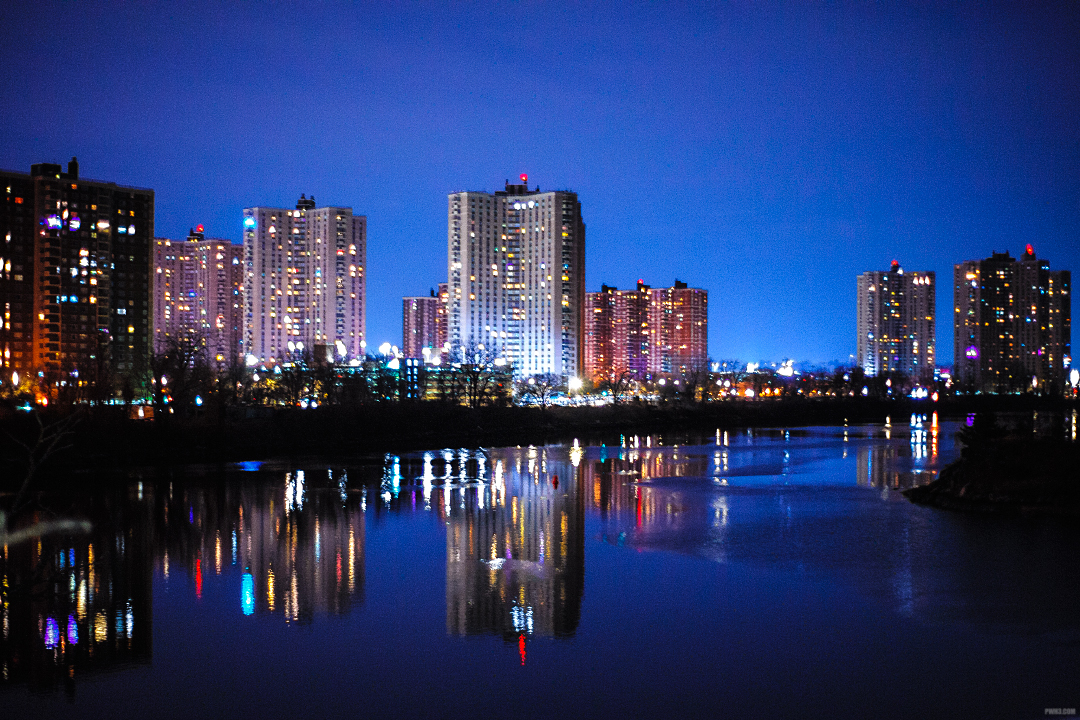
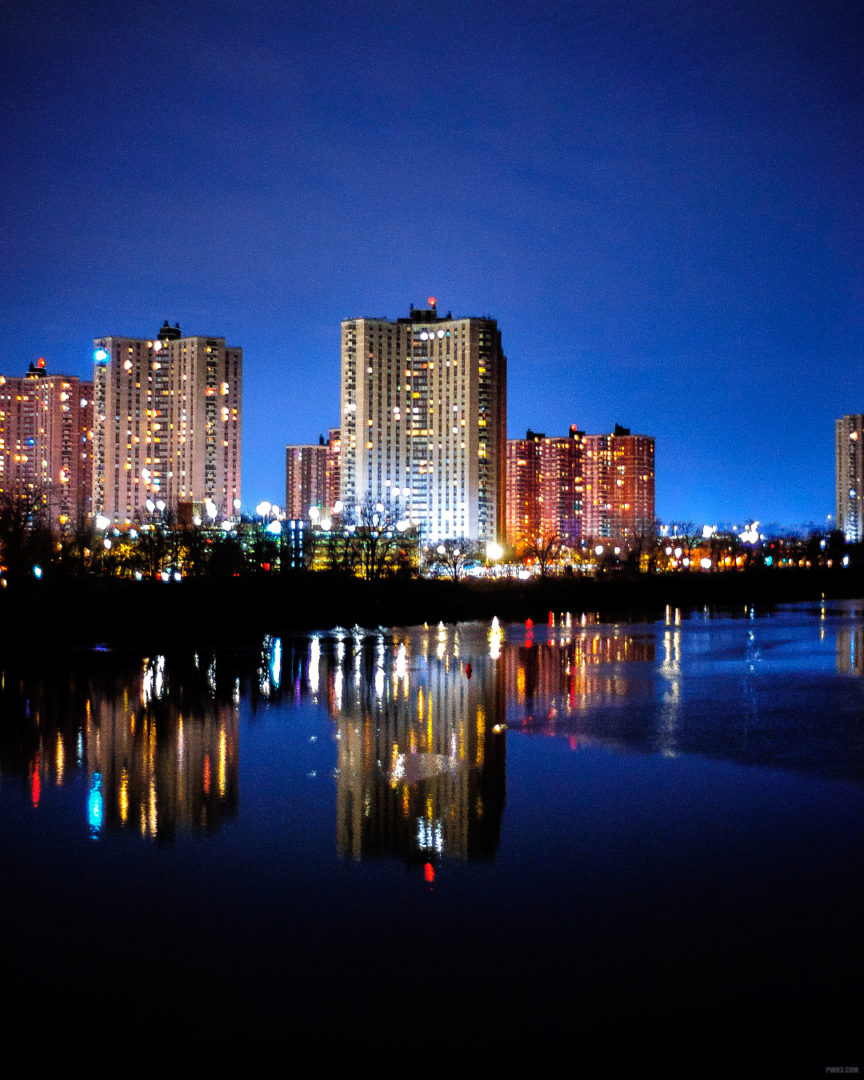
The tip for good night photos is to always overexpose them in aperture priority mode. Overexposure is the only way to capture all of the details of a given scene. If you underexpose the photo, you’ll only end up with a dark photo with a bunch of dots of light from the windows.
This is why your nighttime cell phone photos look terrible, because the phone is automatically exposing for the brightest part of the scene (the light from the windows of buildings, or streetlights, or traffic headlights). Fortunately, you also have a DSLR with you, so you can set your exposure compensation to +3 or +7 so that no matter what ISO you are using, the camera will always overexpose the scene. This is the exact opposite of what you need to do to photograph a sunset.
If you are feeling confident in your skills you can try shooting in full manual mode. Start with a 1/30th of a second shutter speed, a wide-open aperture of f1.8, and an ISO setting of 3200 and pay close attention to how the photos are coming out. But I’ve found it’s just easier and faster to use aperture priority mode for this kind of shooting.
Highlights Such as Streetlights Will Be Blown Out – But Who Cares
So what if highlights such as office windows, streetlights or car headlights are blown out? Those details aren’t what’s important, the total scene is what’s important. But if it really does bother you, you can easily recover the highlights by lowering the Highlights slider in your RAW editor.
Since the photo is overexposed, you can also try lowering the total exposure levels while editing your shot in order to recover the highlights.
Camera Shake and Blur Will Become a Problem
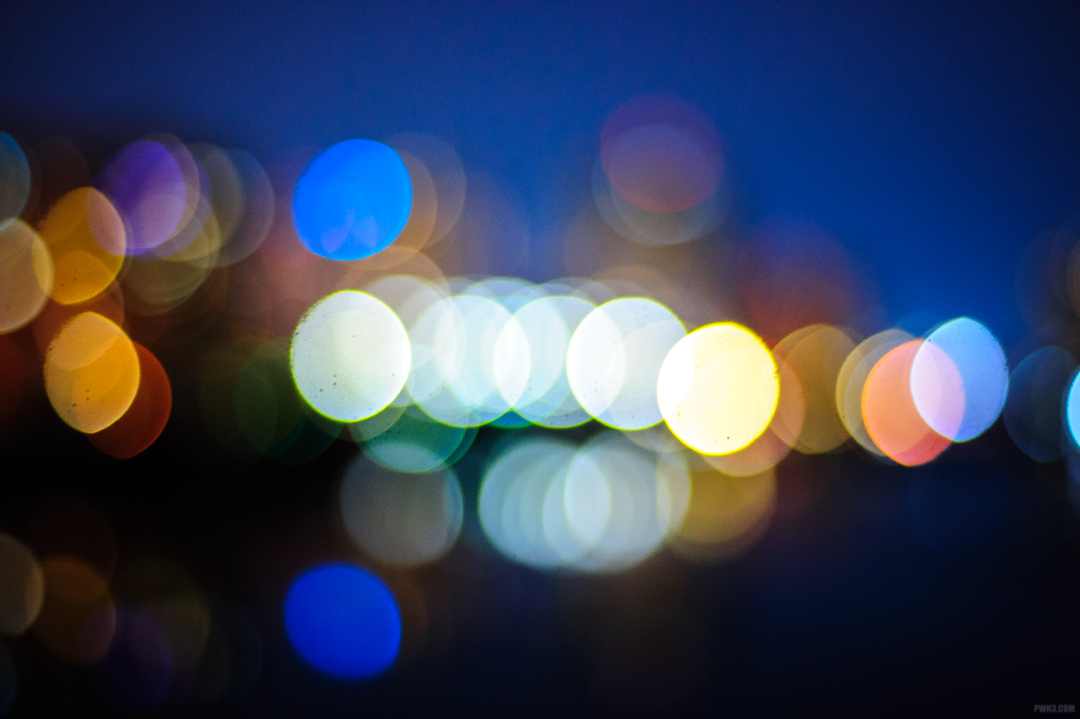
Overexposing on purpose will lead to high ISO and very low shutter speeds. Even if you have a camera with built-in image stabilization, you still may get blurry photos. Depending on the scene, shutter speeds could get as low as 1/8th of a second or slower, which is almost guaranteed to create blurry images.
When this happens, you’ll have to find a way to stabilize your camera. Using a tripod is the best method, though if you’re on a shaky platform such as bridge (the Brooklyn Bridge and Manhattan Bridge both vibrate from car traffic and train traffic, respectively) then you’ll still get a few blurred images.
Stabilizing your camera by holding it against a surface such as a ledge or railing is also good solution.
After you have figured out a way to stabilize your camera, the best thing to do is to take lots of photos in succession; out of 20 or 30 shots at least one will be sharp.
I hope this tip helps you with your night photography around the city. Remember to take lots of photos and keep practicing with different settings. If you have any tips for night photography in a big city like New York — or anywhere else in the world — leave a comment below!